
PowerPoint 2013 has all the tools you need to create great images, including banners. First, we'll show you how to customize a slide to create a website banner that competes with any professional graphics program. If you want an animated banner, we'll show you how to create a file you can turn into an animated GIF, without the need for expensive software. Finally, in case you're looking to make a banner to hang at a party, we'll show you how to modify the slides to create a large banner suitable for printing.
Static Image Banners
Video of the Day
Step 1

Open a new, blank presentation in PowerPoint. Click the "Design" menu and then click the "Customize" icon in the Ribbon. In the drop-down menu, select "Slide Size" and then "Custom Slide Size."
Video of the Day
Step 2
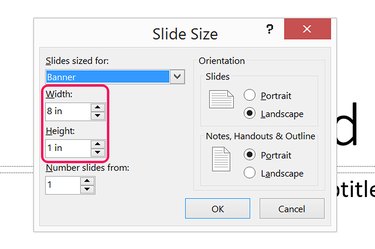
Specify the size of your banner in inches by changing the Height and Width settings. If you select "Banner" from the preset menu, PowerPoint creates a slide that is 8 inches wide and 1 inch high. If you need a specific size banner for a website, divide your pixel dimensions by 96 to get the value you need in inches.
Step 3

Click "OK" to close the Slide Size window. Select "Ensure Fit" to resize the text boxes in the slide to the new dimensions.
Step 4
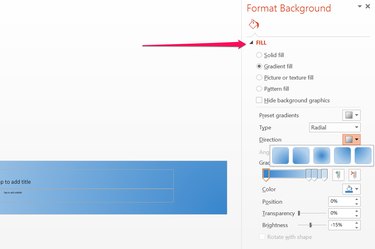
Right-click the slide anywhere outside of the text boxes and select "Format Background." Select a background for your banner in the Fill options. You have the choice of a solid color, gradient color, texture, pattern or an image. Images can be from your computer or from Bing's image search engine. Leave the Format Background menu open.
Step 5
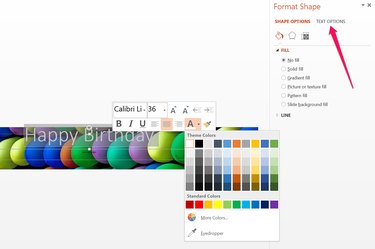
Click the "Title" text box and type the words you want for your banner. Right-click the text box to change the font, font size and color. Click "Text Options" in the right menu, or right-click the text in the slide and select "Format Text Effects."
Step 6
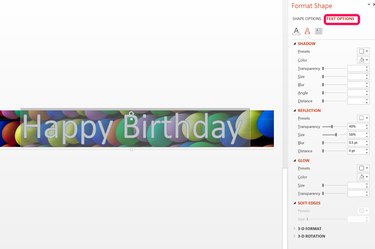
Apply any text effect from the Text Options menu that suits your banner, such as a shadow or glow around the letters, or a reflection beneath them. Any of these effects can help the font stand out on a busy background. If you click the "Text Fill and Outline" icon, which is the first "A" near the top of the menu, you can apply patterns and textures to the letters.
Step 7
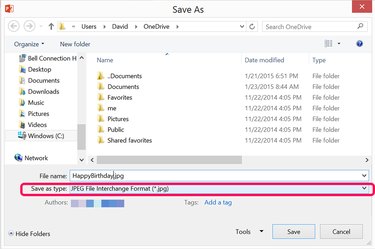
Add any additional text or images to the banner as needed. To create text boxes or to insert an image into a banner, click the "Insert" menu. When your banner is done, click the "File" menu and select "Save As." After choosing a location to store the image, click the "Save As Type" menu and pick any image format you wish, including JPG, PNG or BMP.
Animated Banners
Step 1
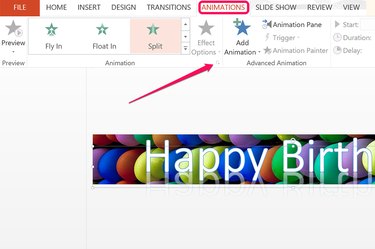
Click the text in your completed banner. To animate the text, click the "Animations" menu and choose an animation style from the Ribbon. As soon as you click on any animation, PowerPoint gives you a preview in the slide. When you have found the one you want, click the small icon beside the word "Animation" in the Ribbon. A pop-up window opens with additional settings for the animation.
Step 2
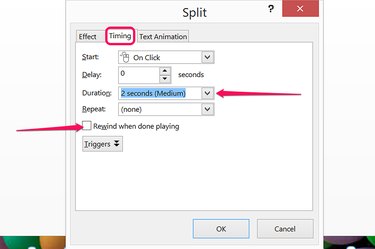
Click the "Timing" tab and then the "Duration" menu. The duration of the animation directly affects the size of the file, so select a short or a medium duration, such as one or two seconds. This keeps the file size small, which is especially important if you are uploading the animated banner to a Web page.
Click the "Rewind When Done Playing" check box if you want to export the banner as a video file. An animated GIF will always rewind whether this option is selected or not.
Step 3
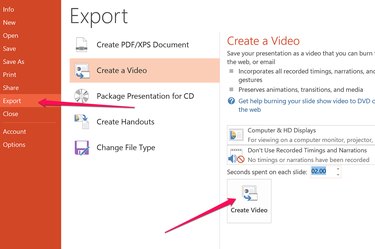
Click the "File" menu, select "Export" and then click the "Create a Video" option. Click the "Create a Video" button and save the animated slide as either an MP4 or WMV file. Upload this file to a free video conversion website, like Zamzar, EZGIF.com, or Imgflp, to convert it into an animated GIF.
Huge Printed Banners
Step 1
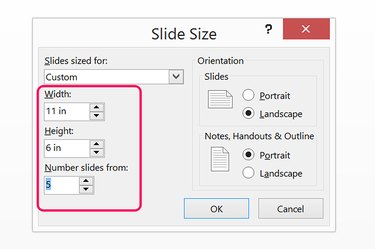
Click the "Design" menu in a blank PowerPoint presentation, select "Customize," then "Slide Size" and then "Custom Slide Size." Select the width you want for your printed banner and a height of 11 inches, provided you're printing on letter-sized paper.
Step 2
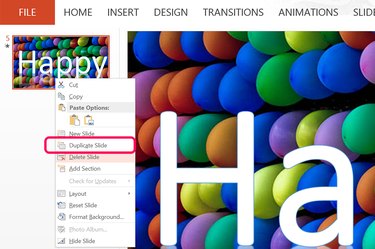
Insert a background and add the text as if you were making any static image banner. If you use an image, make sure you select something that looks good when repeated, since it will appear on each page you print. When you add the text, just type in the first few letters and then adjust the size to fill the width of the banner. You may need to change the font size to 200 or even 300 points, so type the size in manually. Once the text is the right height, type the remaining letters that will fit. Right-click the slide thumbnail on the left and select "Duplicate Slide."
Step 3
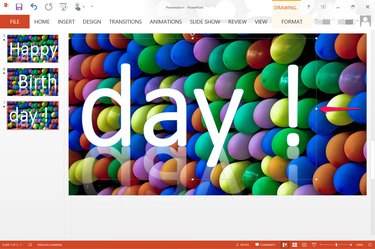
Highlight the text in the second slide and add the next set of letters in your message. Keep duplicating the slide until your message is complete. If you end up with a lot of space at the end, add extra space between words. After printing the banner, cut the empty margins and tape the pages together.
- Office Online: Change the Size of Your Slides
- Office Online: Insert a Background Picture, Color or Watermark to Your Slides
- Office Online: Save a Picture as a Separate File
- Office Online: Basic Tasks for Creating a PowerPoint 2013 Presentation
- Office Online: Save Your Presentation as a Video
- Zamzar
- EZGIF.com
- Imgflp: Animated GIF Generator