Convert any Publisher document to a PowerPoint slideshow in Office 2013 by using Publisher's Save for Photo Printing option. This option converts every page in the Publisher document to a JPG file, which you can then insert into PowerPoint. For best results, adjust the Publisher page size to the size of your PowerPoint slides to ensure a perfect fit.
Preparing the Publisher Document
Video of the Day
Step 1
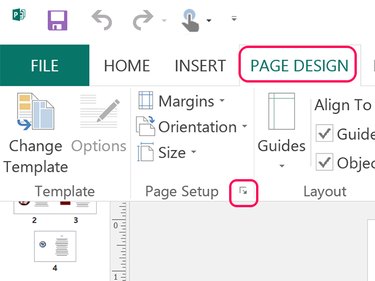
Click the Page Layout tab and click the small Page Setup arrow to open the Page Setup window.
Video of the Day
Step 2
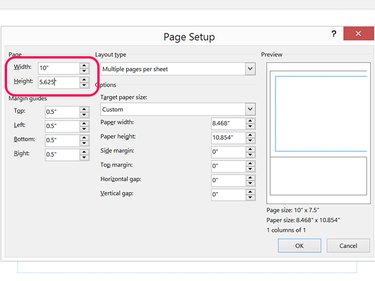
Change the page's width and height to the same dimensions as the PowerPoint slides. For a standard PowerPoint 2013 slide, set the Width to 10 inches and the Height to 5.625 inches. For a widescreen slide, set the Width to 13.333 inches and the Height to 7.5 inches.
Step 3
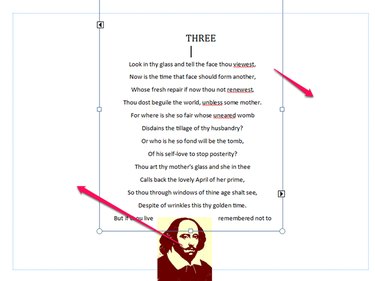
Resize and move the text boxes and other objects as needed so that all the content on each page fits in the margins. If you're not familiar with Publisher's layout, read this tutorial on working with text in Publisher.
Step 4
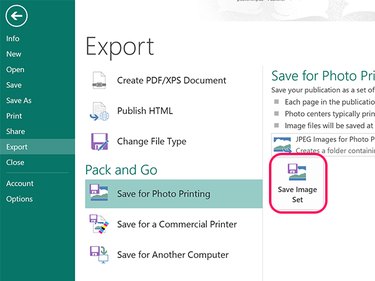
Click the File tab and select Export. Click the Save for Photo Printing option and click the Save Image Set button. Select a folder in the navigation window that opens. Publisher exports every page in the document as a JPG image to that folder.
Importing to PowerPoint
Step 1
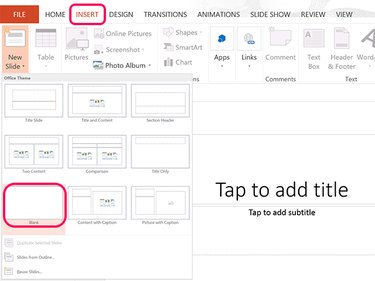
Open a new PowerPoint file. Click the Insert tab, select New Slide and then click the Blank icon. After inserting this blank slide, you can just click the New Slide icon in the ribbon to add as many new slides as needed. Delete the text boxes in the first slide.
Step 2
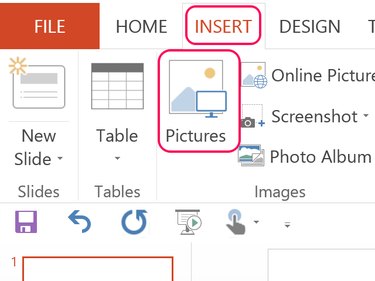
Select the first slide and then click the Pictures icon in the Insert ribbon to open a navigation window.
Step 3
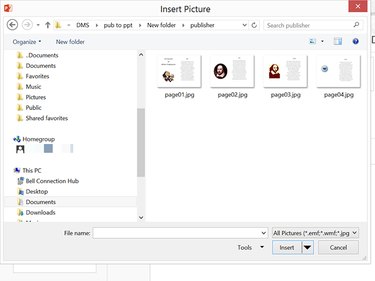
Open the folder containing the Publisher images. Select Page01.jpg and click Insert.
Step 4
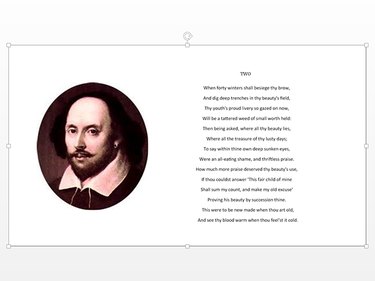
Drag the inserted photo to center it on the slide, if needed. Insert the remaining images into each empty slide of the PowerPoint presentation.