Canon Pixma printers are all-in-one printer/scanner/fax and copiers that can be used in home or at your office. Some Pixmas offer high speed printing at a pace of 7.5 pages per minute. The flatbed design makes scanning pictures or text documents as easy as placing the item on the platen and pressing the start button. While they are reliable and easy to you use and maintain, should you need to disassemble one you can do that at home as well.
Step 1
Contact Canon to see if there is any warranty left on the product before you start to take it apart. Once the printer has been opened up by anyone other than an authorized service technician any warranty will become void.
Video of the Day
Step 2
Turn the printer off and remove the power cord, paper and any ink cartridges that may be installed.
Step 3
Remove the lid from the printer; some simply lift out of their holders, others may have a clip that needs to be released before the lid can be removed.
Step 4
Turn the copier over and remove the small screws holding the casing together. Set the screws aside in a small container or plastic bag so they don't get lost.
Step 5
Remove the outer casing of the copier.
Step 6
Disconnect the ribbon cable that is attached to the scanning unit from its connector on the circuit board assembly. Remove the screws that are holding the scanning unit on the guide rails.
Step 7
Remove the screws that are holding the guide rail in place and set it aside.
Step 8
Remove the printer heads by unscrewing them from their carrier and disconnecting the ribbon cable from the circuit board.
Step 9
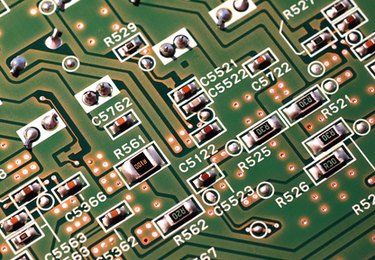
Finally unscrew the circuit board from the copier casing and remove it.
Video of the Day