Upgrading your video card may be exactly what you need to breathe new life into an older computer. With the latest games and operating systems relying so heavily upon graphical user interfaces, these pieces of software can really slow down an older graphics card. Graphical memory is not saved to a card as it is with other types of digital information, so if you want to speed up your computer, the only way to add more space is to get a more powerful graphics card. You can change your own graphics card in under an hour.
Step 1
Uninstall the current video drivers. In the Windows operating system, right-click on "My Computer," click "Properties," then "Hardware." Under the hardware menu, chose "Device Manager." Locate the name of your current graphics card from the list. Click on the card, and select "uninstall." This will remove the current video drivers so that they do not conflict with the ones you are going to install.
Video of the Day
Step 2
Open the computer case. Using a non-magnetic Phillips screwdriver and an anti-static grounding strap, unscrew the case screws that hold the lid to the body of the case. These screws are located on the back of the case and there will be six to 10 of them to remove.
Step 3
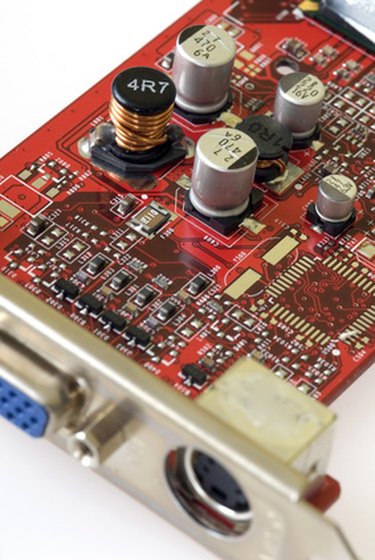
Remove the current graphics card. Lay the case on its side. Locate the graphics card. You will be able to recognize it by the port on the back, which will be the one that connects to your monitor. Unscrew the one or two set screws that hold the card in place on the back of the case. Lift the card straight out, making sure not to rock it back and forth too much, or you could crack the card.
Step 4
Install the new card. Remove the card from its static-free plastic bag. Gently press the card down into the slot where the previous card was located until it clicks in place. Replace the screws that mount the card to the computer case and put the case back on the computer chassis, replacing the case screws.
Step 5
Install the new card drivers. Using the CD/DVD that came with your new graphics card, insert the disk into the computer. Once the disk is running, choose "ignore" when Windows asks you to run the install wizard. Install the drivers using the wizard on the disk instead.
Video of the Day