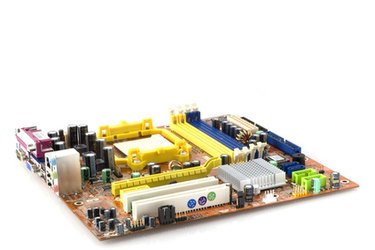
The BIOS (basic-input-output-system) is where the hardware settings for your computer are stored. If you are having boot problems with your computer, the BIOS settings are the first thing you should check. However, entering the BIOS on a computer with an MSI motherboard requires that you follow certain steps in the correct order.
How to Enter MSI BIOS with No Password
Video of the Day
Step 1
Press the "Delete" key several times, as the computer displays the POST screen to enter the BIOS area. The POST is the "Power On Self Test" that the computer performs to check the hard drive, memory and processor on your computer. If your computer displays an MSI logo screen instead of the POST screen, press the "Tab" key to display the POST screen, and then tap the "Delete" key a few times.
Video of the Day
Step 2
Refer to your MSI motherboard manual for specific setting descriptions and instructions.
Step 3
Make changes to the settings in the BIOS as needed and click on the "Save Changes and Exit" button on the main BIOS screen.
How to Enter MSI BIOS that Has a Known Password
Step 1
Tap the "Delete key a few times while your computer displays the POST screen. If your PC displays a logo screen when powering up, go to the POST screen by pressing the "Tab" key. Then, press the "Delete" key.
Step 2
Enter the administrator password for the BIOS area and then press the "Enter" key. If you enter the correct password, you will then enter the main BIOS screen. If you enter an incorrect password, the system will prompt you to enter the correct one.
Step 3
Make needed changes to the BIOS settings and save. Your computer will then restart.
How to Enter MSI BIOS that Has an Unknown Password
Step 1
Power down the computer and unplug the power cord.
Step 2
Place the computer on a flat surface. Then, remove the screws on the rear of the computer, so that you can remove the chassis cover. Place the chassis cover aside.
Step 3
Refer to the owner's manual for your MSI motherboard and locate the "Jumper Configuration" diagram. Locate jumper "JBAT1" on the diagram. Find the jumper on your MSI motherboard.
Step 4
Remove the jumper from pins 1 and 2 and place it on pins 2 and 3. Wait for 15 to 20 seconds and then place the jumper back on pins 1 and 2. This will reset the BIOS to factory default settings and remove the password.
Step 5
Close up the computer and plug the power cord in.
Step 6
Enter the BIOS by pressing the "Delete" key during the POST.