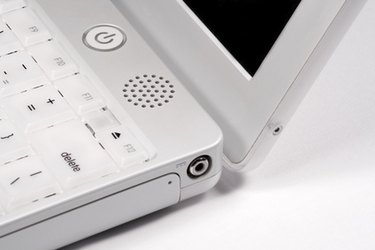
Most laptop computers--with the exception of certain netbooks and specific models--come with a built-in CD/DVD drive. Almost every computer make, model and operating system presents users with multiple ways to eject a CD from a laptop. While ejecting a CD from a laptop is generally simple, there may come a time where one method fails, meaning you need to take an alternate approach to ejecting the disc from the laptop's disc drive.
General Disc Ejection
Video of the Day
Step 1
Locate your laptop's disc drive; it's generally located on the right or left side of the computer's base.
Video of the Day
Step 2
Press the small button on or near the disc drive to eject the tray or disc. Apple computers tend to have a Media Eject key on the keyboard that will also eject the disc.
Step 3
Remove the disc from the disc drive carefully, holding it only by the outer edges.
Windows
Step 1
Click the "Start" button on the desktop.
Step 2
Select "Computer" if using Windows Vista or 7. Select "My Computer" if using Windows XP.
Step 3
Right-click the disc drive icon and select "Eject" from the list of options.
Step 4
Remove the disc from the disc drive carefully, holding it only by the outer edges.
Mac
Step 1
Quit and exit any active programs running from the disc.
Step 2
Click the disc icon on your desktop and drag it to the Trash Bin icon. If this fails, you can still attempt to eject the disc using the Disk Utility.
Step 3
Double-click the Macintosh HD icon on your computer's desktop.
Step 4
Double-click "Applications" and run the Disk Utility.
Step 5
Click the disc, then select "File" and click "Eject." Remove the disc from the disc drive carefully, holding it only by the outer edges.
Emergency Eject Hole
Step 1
Locate the emergency eject hole on your computer's disc drive.
Step 2
Straighten a small metal paperclip and insert it into the hole.
Step 3
Push until the disc or disc tray ejects far enough so you can manually remove it from the drive.
Step 4
Remove the disc from the disc drive carefully, holding it only by the outer edges.