The CMOS (Complementary Metal Oxide Semiconductor) battery provides power to some of your computer's basic functions, like keeping the date and time when your computer is turned off. If you find that your Vaio is constantly losing its clock settings whenever you turn it on, chances are the CMOS battery needs to be replaced. It isn't the easiest task in the world, but if you don't have the time or money to take your Vaio to a technician you can remove the CMOS battery yourself.
Step 1
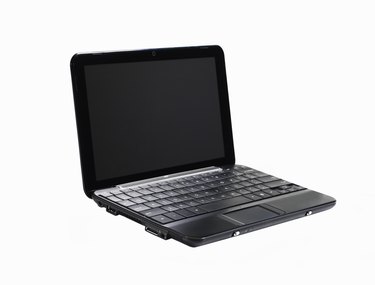
Open the Vaio screen until you can easily access the keyboard.
Video of the Day
Step 2
Locate the plastic bar that borders the top of the keyboard. Insert the flat head screwdriver at one end of the bar and gently pry it up until you can grip the edge with your fingers.
Step 3
Pry the other side of the bar up with the screwdriver and pull out the entire bar, being careful to mind the ribbon cord that connects the keyboard to the computer.
Step 4
Remove the two screws on either side of the keyboard that secure it to the computer. Slide the keyboard up and place it to the side.
Step 5
Remove the four screws on the exposed metal plate that covers the motherboard and remove it. You should now see the CMOS battery in the bottom-right-hand corner of the motherboard.
Step 6
Remove the battery by gently pulling it up and off the motherboard. Replace it with the same model battery (available at any computer store or online). Reassemble the computer the same way you took it apart.
Video of the Day