Hard drives store all the information it takes to run a computer. When your computer opens a program, such as your operating system, it pulls that program information from the hard drive and puts it into memory. If you must, you can physically remove the hard drive from your computer to store it, or install it in a different computer. Of course, if your system only has one hard drive, it will not work until you either return the drive or install a new one.
Step 1
Remove all the cables from the back of the computer. To remember where they go, write down their locations, or take a picture.
Video of the Day
Step 2
Lay the computer on its side so the connectors in the back are closer to the ground. Turn the back of the computer toward you. Loosen the two or three screws that secure the side panel--which is now facing up. With the screws removed, pull the side panel back and away from the computer. This method works for almost all Pavilion models, but if your side panel does not slide out, check the online documentation on HP's website for instructions specific to your model.
Step 3
Turn the computer right-side-up with the open side facing you. Push out on the three tabs that hold the front cover in place. These tabs are normally black and are spaced along the length of the front cover. Once the tabs are loose, swing the front cover open a little, then pull it away from the computer.
Step 4
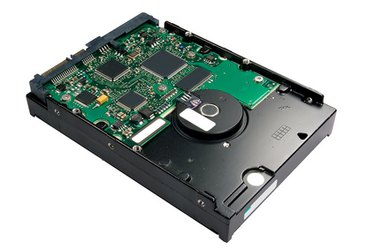
Find the hard drive that you want to remove. It will be located along the computer's front face, which exposed now that the front cover is off. Hard drives are generally a little smaller than CD-ROM drives and DVD drives, plus the hard drive will be the only piece of hardware in the front of the machine that you cannot see when the front cover is on. Pull out the power cable and the data cable from the back of the hard drive. The power cable will have four multi-colored wires and the data cable will either be a long ribbon cable or a small red cable, depending on the type of hard drive.
Step 5
Remove the screws on the side of the case that hold the hard drive in place. The hard drive is often enclosed in a cage. For these systems, lift the latch closest to the drive, then slide the cage out of the bay. You may have to look closely to find it, but there will be a small metal or plastic latch holding the cage in place. Once the cage is free, you can loosen the screws that secure the hard drive to the cage and remove the drive.
Step 6
Replace the front cover and the side panel by reversing the process that you used to remove them.
Video of the Day