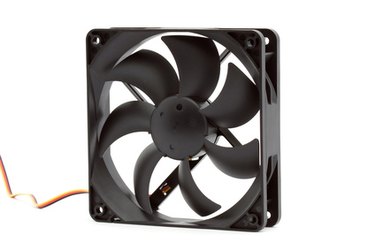
Laptops are more likely to have problems with overheating than desktop computers. This is because everything in a laptop is packed closely together, meaning that it is harder for air to circulate. Keep your laptop from getting too hot by adjusting the fan settings for your system so that your fan is running more often, even all the time. Often the default fan settings have been designed to make the laptop quieter, so adjusting your fan settings can cool your laptop but will make it noisier.
Step 1
Restart your laptop by clicking on the "Start" button and then "Restart" in the Start menu.
Video of the Day
Step 2
Press the "F10" key on your keyboard while the computer is restarting to open the BIOS (Basic Input/Output System) interface.
Step 3
Find where the "Fan Settings" section is located. Change which option is highlighted using the arrow keys on your keyboard, and press the "Enter" key to choose that option. Exactly where the fan settings are located varies depending on your computer, but it will be under either "CPU," "Advanced," or "Overclocking." Find one of these and press the "Enter" key to look for the fan settings. If you wish to go back to the previous screen, select the "Go Back" option and press "Enter."
Step 4
Select "Fan Settings" and press "Enter" to see the fan settings. This shows the "fan high temp." and "fan high voltage," as well as the "fan low temp." and "fan low voltage."
Step 5
Change the "fan low temp." setting to a lower temperature to make the fan start working earlier. If you set this to a suitably low temperature, your laptop will always be above this temperature and so the fan will run constantly. The exact temperature needed for this to happen will vary with your laptop. 30 degrees will, in nearly all cases, be low enough.
Step 6
Change the "fan low voltage" setting to a higher voltage to make the fan start running at a higher voltage and therefore faster. The "fan high voltage" will be set to the fan's maximum voltage setting, so do not set it any higher than that voltage or you will risk breaking the fan.
Step 7
Select "Save Settings and Exit" and then press "Enter" to go back to the main BIOS page.
Step 8
Select "Exit" and press "Enter" to leave the BIOS page and let your laptop restart. Your fan will now work according to the new settings.
Video of the Day