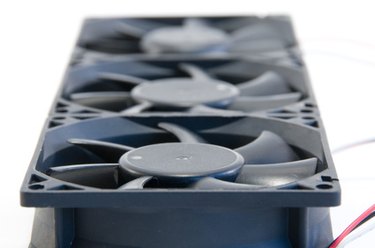
All computers use a fan to prevent the central processing unit (CPU) from overheating. Often, the speed of this fan is set using "Smart Fan Control." This function automatically adjusts the fan speed depending on the CPU temperature. Smart Fan Control can be turned off, so that your fan can be controlled manually from the Basic Input/Output System (BIOS) menu.
Step 1
Start or restart your computer. The BIOS menu can only be accessed while your computer is starting up.
Video of the Day
Step 2
Enter the BIOS menu by pressing and holding down the appropriate key while your computer is starting up. The computer manufacturer's manual will tell you which key to press, as this varies depending on the manufacturer. However, it is almost always either the "Delete," "Num Lock," "F8," "F10" or "F12" key.
Step 3
Locate the "Fan Settings" section. The arrow keys will change which option is highlighted. Press the "Enter" key to select that option. The fan settings will normally be located under either "CPU," "Hardware Monitor" or "Advanced." Find one of these and press "Enter" to look for the fan settings. You can use the "Go Back" option to return to the previous screen.
Step 4
Look for the "Smart Fan" option and select it. Use the arrow keys to change this setting to "disabled." The CPU fan will now run at full speed all the time. To change the fan speed, you can adjust the fan's voltage using the "CPU Fan Voltage" setting.
Step 5
Select "Save Settings and Exit."
Step 6
Exit the BIOS by selecting "Exit." Your computer will restart and the new fan settings will automatically take effect.
Video of the Day