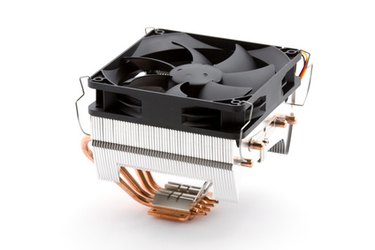
A CPU fan is attached on the top of the CPU heatsink and plays a crucial role in cooling down the processor. The fan cable is plugged to the special connector on the motherboard that allows a user to regulate the fan speed. Basic Input-Output System (BIOS) is a special code integrated into the motherboard chip. Use BIOS to access fan speed options.
Step 1
Reboot your computer.
Video of the Day
Step 2
Wait for the message "Press [some key] to enter SETUP" on the screen when the computer begins to boot up. Then press this key to enter the BIOS; typically such a key is "Delete," "F1" or "F2."
Step 3
Use the arrow keys on the keyboard to get to the BIOS setup menu called "Hardware monitor." Then press the "Enter" key.
Step 4
Navigate to the option "CPU Fan" and press "Enter."
Step 5
Look through CPU fan options available in your BIOS. The common settings are "auto" (the fan speed is adjusted accordingly the processor temperature), "silent" (minimizes the fan speed to make your computer quiet) and "maximum" (sets the highest speed).
Step 6
Select a desired option for the CPU fan and press "Enter."
Step 7
Press the key "F10" on the keyboard to save the changes made and automatically exit BIOS.
Video of the Day