Steinberg's Cubase 7 musical software is designed for newcomers to the musical scene and for experienced musicians. To record a human voice or instrument on your computer with Cubase, you need to connect a microphone to your computer's sound card or audio interface.
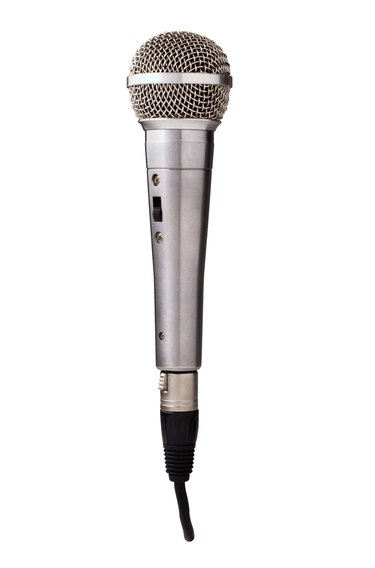
Step 1
Connect your microphone to your computer's sound card or audio interface. If you use a USB microphone, connect it directly to an available USB port on your computer.
Video of the Day
Most microphones designed for studio and live use aren't compatible with the 1/8-inch audio jacks common on computers. These microphones generally use balanced XLR cables, and many require phantom power, which amplifies a microphone's signal. Most standard computer sound cards don't have XLR inputs or phantom power. As a result, you may need to purchase a microphone preamp before you can use an XLR microphone with Cubase.
Step 2
Open Cubase. Click the "Devices" menu and select "Device Setup" to launch the Device Setup dialog. This is the dialog in which you configure audio inputs and outputs.
Step 3
Click "VST Audio System" on the Devices menu on the side of the Device Setup dialog. Click the "ASIO Driver" pull-down menu and select the name of your sound card or audio interface.
Step 4
Click your audio driver in the Devices list. Place a check mark in the "ASIO Direct Monitoring" check box, click "Apply" and then click "OK" to close the Device Setup dialog.
Step 5
Click the "Project" menu, highlight "Add Track" and select "Add Audio Track" to create a new audio track on which to record audio received from the microphone. Enter a name for the track in the provided field.
Step 6
Click the track's "Record Enable" button to arm it for recording. The Record Enable button is available in three places: the track list, the Inspector and the MixConsole.
Step 7
Speak into the microphone to test that Cubase is receiving a signal. The meter in the track should light up according to how loudly you speak. Adjust the input on your sound card or audio interface so that when singing, speaking or playing at your loudest, the track tops out no higher than minus 10 decibels.
Step 8
Click the "Record" button on the Transport panel to begin recording with your microphone. Click the "Stop" button to stop recording.
Video of the Day