
The Finder application on Macs running OS X Yosemite enables you to transfer files on and off your computer. When you connect an external hard drive to your Mac, it appears on the Devices menu in Finder. Copy and paste, or drag and drop, items onto the hard drive as you would to any other location on your Mac.
Step 1

Connect the external hard drive to your computer using its provided cable. The cable used will vary depending on the make and model of the hard drive. Most mainstream hard drives use USB cables.
Video of the Day
Click the "Finder" icon on the Dock to open the Finder application.
Step 2
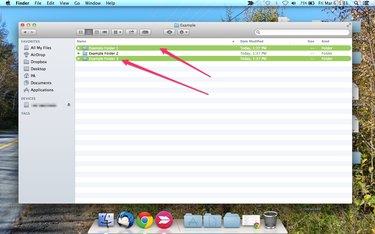
Select the folders or files you want to transfer onto your external hard drive. Hold down the "Command" button to select multiple items simultaneously.
Step 3
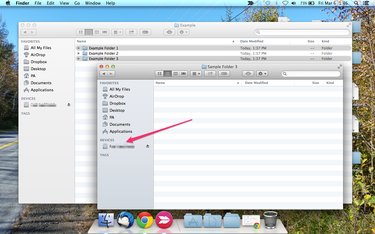
Press "Command-N" to open a second Finder window and then select your external hard drive on the list of devices displayed under the Devices heading on the left side of this new window.
Step 4
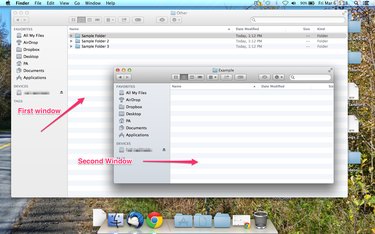
Browse to the folder on your external drive where you want to store the files or folders and then drag and drop folders and files from your Mac's Finder window into the external hard drive's window. A status bar appears on your screen indicating progress. Wait until the full transfer completes.
Step 5
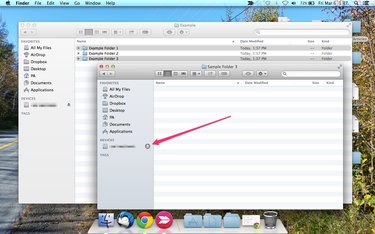
Click the "Eject" button to safely remove the hard drive when you're finished.
Video of the Day