File sharing between computers on your home network can help increase your productivity, whether you're working for business or personal pleasure. You can use an ethernet crossover cable to create a network without the need for a joining router. When you transfer files from one computer to another using an ethernet cable, you cut down on costs for removable media such as blank CDs. Setting up a network with an ethernet cable is simple and should only take about a half hour.
Step 1
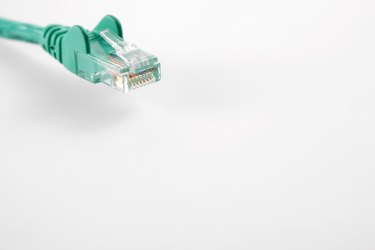
Plug one end of the ethernet crossover cable into one computer's ethernet port, then plug the other end into the other computer's ethernet port.
Video of the Day
Step 2
Reboot both computers. Make sure each is a member of the same "workgroup." Check this by right-clicking on the "My Computer" link and then looking at the "Workgroup" line on the main page of the screen. The default item is called "Workgroup," so if you have not changed the option on either computer, you should be good to go.
Step 3
Enable file sharing by going to the "Start" menu, then to the "Control Panel," then to the "Network and Sharing Center." Either click on "Change advanced sharing settings" or scroll down until you find the option for "File sharing." Click on the option to enable file and printer sharing on both computers.
Step 4
Reboot one more time, and the computers should be able to swap files using the "Network" tab in the "Start" menu. You will be able to see the other connected computer and exchange files and folders at will.
Video of the Day