In Adobe InDesign, unlink text boxes when you don't want the text to flow in a single thread across them but rather to stand alone. To do so, use the in port and out port on the text boxes you want to unlink. You can either single- or double-click the in or out ports, as well as use copy-all and backspace.
Linked Text Boxes
Video of the Day
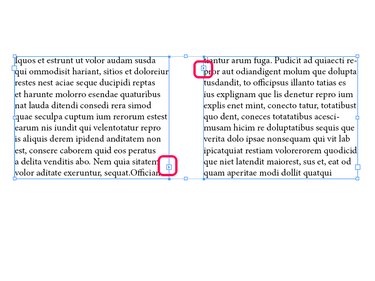
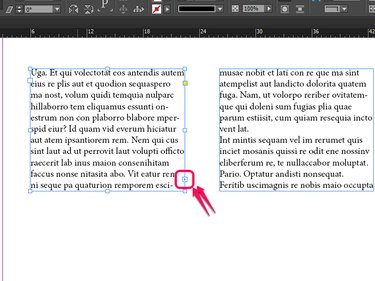
Linked text boxes contain a single, continuous flow of text in order to naturally flow the text over multiple pages. When text boxes are linked, they have small boxes with arrows around the edge of the frame. The in port is on the top left side, and the out port is on the bottom right.
Video of the Day
Unlinking Options
There are three options for unlinking text boxes, and each have their own advantages and disadvantages. The first two options, single- and double-clicking, make use of the Selection tool, which is the primary way of interacting with objects in InDesign. The third option, to copy and backspace, unlinks the text boxes but also deletes the text itself.
Single-Clicking
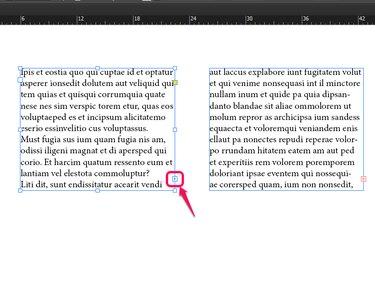
Single-click an in or an out port on a linked text box. Single clicking an in or out port allows you to move the text in a text box to wherever you next click.
To unlink the two text boxes, click in the first text box in the sequence.
Double-Clicking
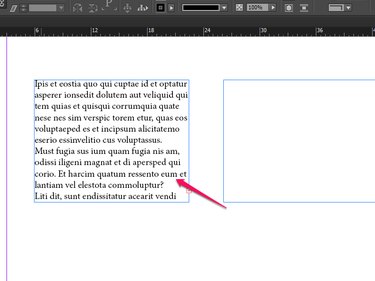
Double-click an in or an out port on a linked text box. This immediately unlinks the two text boxes. Unlike single-clicking, the extra text does not follow your pointer, and you are free to continue working as you choose.
Copy and Backspace
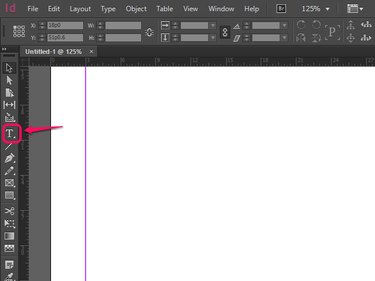
Step 1: Select the Type tool.
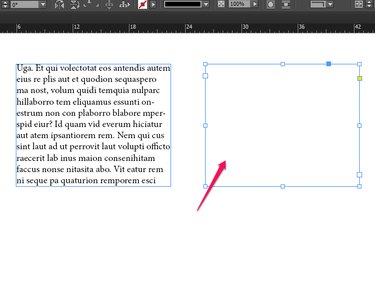
The Type tool allows you to begin altering or adding text in a text box as you would on any word processor. If you have two linked text boxes, you've already used this tool to add text.

Step 2: Highlight the text in the text boxes you want to unlink.
There are several options here that will all lead to unlinking text boxes. You can hit either Ctrl-A on a PC or ⌘-A on a Mac to select all of the text in each linked text box, or you can click and drag using your mouse to highlight specific boxes you want to unlink.
Step 3: Tap backspace or delete.
This removes all the text you have highlighted and, if you have selected an entire text box's worth of material, unlink the two boxes.
Tips and Other Things to Keep in Mind
- A red + box will appear along the edge of any text box with more text than can fit in that space. Clicking on this red + allows you to then click into another text box to re-link them.
- When more than two text boxes are linked, they are threaded, as they are strung one after the other as if on a thread. As a result, when you unlink a text box, every text box after it is unlinked, too. Be careful not to unlink more text boxes than you intend to.
- It's best to use the single-click method when you need precision, and the double-click or copy-backspace methods when you have other things to work on before you come back to text.
- Most times, when unlinking a text box, you're going to re-link it at some point afterwards. If you don't plan on coming back to text boxes, it's often easier just to delete the box altogether.