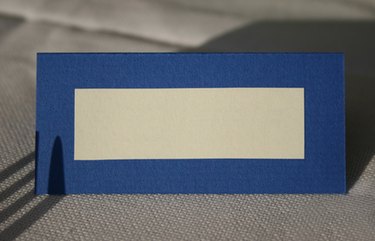
Whether you need to assign seats for guests at a wedding, or participants at a business conference, people will appreciate knowing where to sit. Printed place cards will not only help people find their places easily but they also lend an air of professionalism to your event. With a little work, you can print place cards from a spreadsheet, even if you have a long list.
Step 1
Open or create your list of names in your spreadsheet program. For this example, we will use Excel 2007. Make sure each column is labeled; the column name will be used for a mail merge. For example, if your first column contains the names, you might give that column the name "Name" in cell A1. If your second column contains a table number for each person, that column might be labeled "Table_Number" in cell B1.
Video of the Day
Step 2
Save and close your spreadsheet.
Step 3
Open a new sheet in your word processing program. For this example, we will use Word 2007 but other programs have similar instructions.
Step 4
Click "Start Mail Merge" under the "Mailings" tab. Select "Labels." Select the brand of place cards from the "Label vendors" drop-down box and its corresponding product number. For example, "Avery US Letter" and product number "5302" select a 4-inch tent card. If there is no appropriate label vendor or if you want to create place cards from scratch, click the "New Label" button. Enter the dimensions of the cards in the "Label Details" popup window. Click "OK" when you are done. You will now see a blank sheet in Word with outlines for your place cards.
Step 5
Click "Select Recipients" from the "Start Mail Merge" group. Click "Use Existing List." Find the spreadsheet name in your list of documents and click "Open." Your spreadsheet should now be linked to your empty mail merge document.
Step 6
Insert the merge fields into the first empty place card. Click "Insert Merge Field" from "Write & Insert Fields." Select the fields you want to appear in your card -- for example, "Name" and "Table_Number." Apply any formatting to the fields that you want, such as bold, centering or different fonts. For example, you may want to hit "Enter" a couple of times to get to the center of the card before inserting the "Name" field.
Step 7
Click "Update Labels" from the "Write & Insert Fields" group to populate all the cards with the fields.
Step 8
Click "Preview Results" to see what your cards will look like when they are printed. If you are satisfied with the results, you are ready to print.
Step 9
Load the correct card stock or paper into your printer, according to your printer's instructions. Press "Print."
Video of the Day