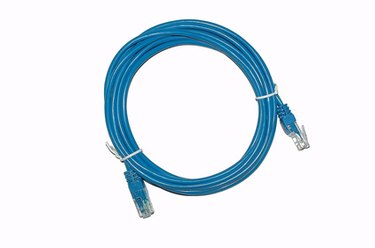
Never splice a CAT-5 cable as a permanent solution to a cut or damaged cable. That being said, when a cable is damaged and needs to be repaired quickly, it can be spliced as a temporary measure that will perform well enough to carry network traffic reliably until new cable can be run. Accurate transmission of the large amount of data carried by Ethernet wiring requires solid connections with a minimum number of breaks or patches in the cabling. Simply twisting the ends of matching conductors together will not work. There are two methods that will allow you to keep data flowing in an emergency.
Splice Box
Video of the Day
Step 1
Cut the cable at the break with a pair of electrician's scissors. Trim both ends of the cable so the inner conductors are even.
Video of the Day
Step 2
Strip two inches of the insulating jacket off of each cable end with a cable stripper.
Step 3
Remove the top of the splice box. Insert the individual conductors from each end of the cable into the punch-down slots in the box. Match the color of the conductor to the color guide printed on the box. Press the individual wires into position using a 110 punch down tool. This tool will press the conductors firmly into position on the terminals and allow them to make good contact without the need to strip the insulation from the individual wires.
Step 4
Replace the top of the splice box. Use a screwdriver to tighten the mounting screw to secure the box top in place.
Standard RJ-45 Plugs
Step 1
Cut the cable at the break with a pair of electrician's scissors. Trim both ends of the cable so the inner conductors are even.
Step 2
Strip two inches of the insulating jacket off of each cable end with a cable stripper.
Step 3
Insert the conductors from the first cable end into an RJ-45 male plug. Use a crimping tool to secure the wires in the plug.
Step 4
Connect the conductors from the second cable end to the terminals on a female RJ-45 plug. Use the appropriate tool to secure the conductors to the female jack. A 110 punch down tool can be used on most modern RJ-45 jacks. Older style jacks with screw terminals may require you to strip the insulation off the last inch of each conductor to the wrap the conductor around the terminal and secure it with a screwdriver.
Step 5
Insert the male plug into the female jack.