MX Linux XFCE AHS: Who Should Install It and How
Boot any Linux live USB you have and run four quick checks before downloading anything else. Does Wi-Fi connect automatically? Does your display render at the correct resolution? Does audio initialize? Does suspend and resume complete without hanging? If all four pass on a standard Debian-based live environment, your hardware is probably well-supported already and the AHS variant adds nothing you need. If one or more fail, that's the gap AHS exists to address.
This guide helps you make that call cleanly, then walks through the download, the live-session hardware test, and the installation itself. By the end, you'll have MX Linux XFCE AHS running or a clear reason to choose something else instead.
Before you start, you'll need:
- A USB drive of at least 8GB (confirm current size requirements on the official MX Linux download page before proceeding)
- A machine whose hardware isn't fully recognized under a standard Debian-based kernel
- Enough free disk space for the installation; check the MX Linux wiki for current minimum requirements
- Basic comfort navigating a BIOS/UEFI screen
The decision: AHS, standard MX, or a different distro entirely
Video of the Day
Make this call before downloading anything.
Choose MX Linux XFCE AHS if: Your four-check test produces failures on a standard Debian-based live environment. The AHS variant is designed for hardware that standard Debian Stable doesn't yet fully recognize, and the MX Linux development team maintains it as an ongoing release track rather than a one-time workaround. If your symptoms include undetected wireless, incorrect display resolution, audio that doesn't initialize, or suspend that hangs, AHS is the variant to test. It pulls a newer kernel and updated drivers from Debian Backports, a maintained channel of packages backported to the stable Debian base, without abandoning that stable foundation.
XFCE's desktop overhead is low. That keeps it practical on mid-range hardware where a heavier environment would add unnecessary pressure, and it's part of why this combination works well as a daily driver on newer machines that need hardware support without a resource-hungry desktop on top.
Choose standard MX Linux if: Your four-check test passes. Adding a newer kernel to hardware that already works introduces risk with no benefit. Standard MX Linux is the right choice when your hardware is already recognized and stability is the only priority.
Choose Fedora instead if: You want current upstream desktop versions, GNOME or KDE at their latest releases, or a Flatpak-first workflow that works out of the box. Fedora's release documentation outlines a fast-moving release cycle that gives you newer desktop packages and a more current kernel than Debian Stable by default. Fedora handles newer hardware support through that cadence; MX AHS handles it by pulling selectively from Debian Backports. If desktop freshness and software ecosystem breadth matter more than Debian's stability floor, Fedora fits that profile better.
The AHS tradeoff, stated plainly: XFCE is functional rather than polished. The package selection is conservative. Flatpak via Flathub works, but requires manual setup where Fedora handles it from the start. What you get in return: fewer regressions than a rolling release, lower desktop overhead than GNOME, and MX Linux's own maintenance tooling, which makes system administration accessible without requiring command-line fluency. For a machine that needs newer hardware recognition and a stable, low-overhead setup, that's a reasonable trade.
Video of the Day
Download, verify, and flash the AHS ISO

Step 1. Go to the official MX Linux download page. Select MX Linux XFCE AHS. The filename includes "ahs" as an identifier, though the exact version string changes with each release. The standard ISO sits alongside it with a nearly identical name. Confirm you have the AHS build before continuing.
Step 2. Select the x86_64 architecture. The 32-bit build exists for older legacy hardware. If your machine is new enough to have hardware support gaps under a current Debian Stable kernel, x86_64 is the correct choice.
Step 3. Verify the download against the SHA256 checksum linked on the download page. On Linux or macOS, run sha256sum filename.iso in a terminal. On Windows, open PowerShell and run certutil -hashfile filename.iso SHA256. A mismatch means a corrupted download. Delete it and re-download before continuing.
Step 4. Flash the ISO using Balena Etcher. Select the ISO, select the USB drive, click Flash. Everything currently on the USB drive will be erased. Back up anything on it before proceeding.
Boot the live session and validate your hardware
Don't install anything yet. This step is the real work. If your Wi-Fi card isn't detected in the live session, it won't be detected after installation either, and you'll be chasing firmware packages on a machine with no network access. Fifteen minutes here saves hours later.
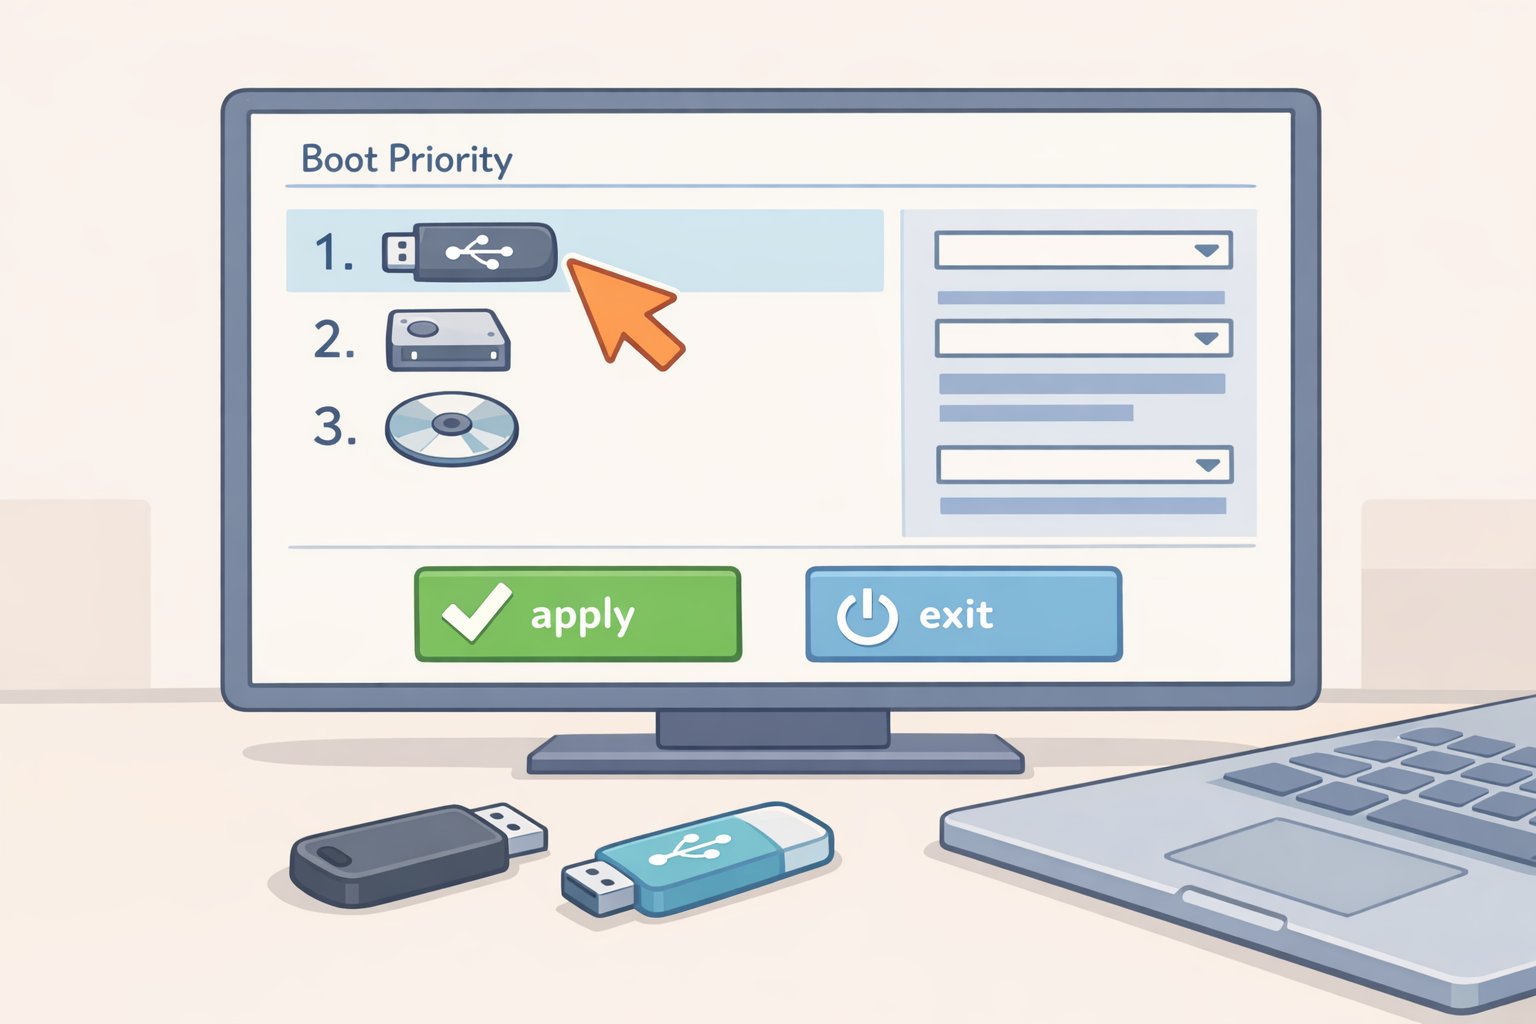
Step 5. Restart and enter UEFI/BIOS. The key is typically F2, F12, Delete, or Esc depending on your manufacturer. Set the USB as the first boot device, or use a one-time boot menu to avoid permanently changing boot order. Check your machine's documentation if none of those keys work.
Step 6. On Secure Boot: MX Linux's live environment may or may not cooperate with your firmware's specific Secure Boot implementation. Disabling it before the first boot removes that variable entirely. You can re-enable it after installation if needed.
Step 7. At the MX boot menu, default options work for most hardware. If your display doesn't initialize, blank screen or corrupted output, select nomodeset from the boot options. Treat this as a diagnostic fallback only; it disables GPU acceleration for the boot process, so don't leave it on if your display works fine without it.
Step 8. Once in the live environment, work through the same checks from the opening: Wi-Fi, display resolution, audio, suspend behavior. These are the four signals that tell you whether AHS covers your hardware.
If Wi-Fi isn't detected: Open a terminal and run lspci | grep -i network. If nothing appears, also run lsusb, since some adapters are USB-connected rather than PCI. If the card doesn't show up in either output, you're likely missing a firmware package. That's solvable, but solve it before installing, not after. Search the MX Linux forum by chipset name it's well-indexed for exactly this class of problem, and you'll find documented solutions from users who hit the same card.
If display output is wrong or sluggish: Run glxinfo | grep renderer in a terminal. Output showing "software rasterizer" means the GPU driver isn't loading. For NVIDIA hardware, that may be expected in the live session; the proprietary driver becomes available through MX Driver Manager after installation. For AMD or Intel integrated graphics, software rendering in the live session is worth investigating before committing to an install.
If the USB won't boot at all: Confirm Secure Boot is disabled, recheck the SHA256 checksum, and reflash before assuming a hardware problem. A bad flash is more common than a bad ISO.
Install MX Linux and the post-install steps that matter
Step 9. Double-click Install MX Linux on the live desktop. Language, timezone, and keyboard layout screens are self-explanatory.
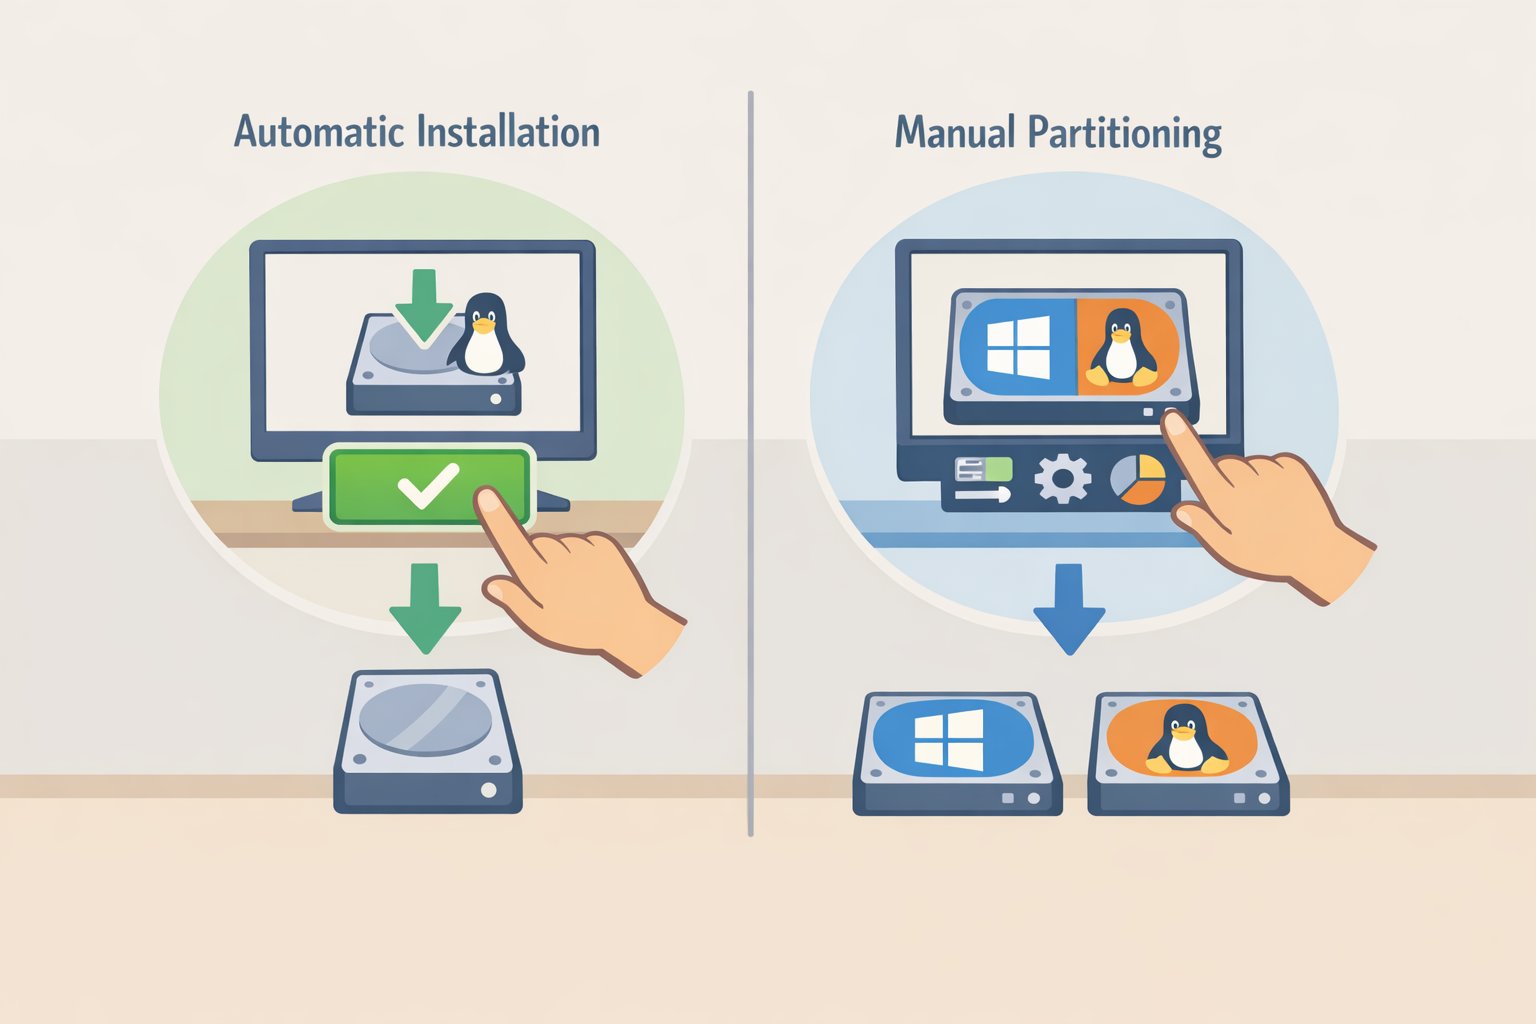
Step 10. At disk partitioning: for a clean install on a dedicated drive, choose Automatic Installation. For dual-boot with Windows, resize the Windows partition using Windows Disk Management before opening the MX installer. Resizing an active Windows partition from within a Linux installer carries a real risk of data loss. Handle that step from Windows first, then return and select Manual Partitioning in the MX installer.
Step 11. Accept the default bootloader configuration, GRUB to the EFI partition, on a single-OS install. On dual-boot systems, GRUB commonly detects Windows and adds it to the boot menu, though this depends on your specific partition layout. Before concluding the Windows entry is gone, check the GRUB menu on first boot. It's usually there.
Step 12. After installation and restart, open a terminal and run uname -r. You should see a kernel version consistent with what the AHS release track pulls from Debian Backports, typically a newer 6.x build rather than the older kernel shipped with the standard MX release. Catching a mismatch now takes less than a minute. Catching it when a hardware problem surfaces is a much longer afternoon.
Step 13. Open MX Driver Manager from the application menu. For NVIDIA hardware, this tool identifies the GPU and presents the available proprietary driver options. NVIDIA hardware consistently performs better with the proprietary driver than with the open-source Nouveau driver. For AMD integrated and discrete GPUs, the open-source Mesa drivers included in the AHS stack handle most workloads without additional installation steps.
Step 14. Before configuring anything else, open MX Tools from the application menu. MX Snapshot generates a restorable image of your running system, not just files, but a bootable ISO you can reflash if something breaks badly later. MX Boot Repair addresses bootloader problems without requiring a separate rescue USB. Both tools are among the practical reasons to choose MX Linux over a plain Debian install, and most users discover them after something goes wrong rather than before. Use them before something goes wrong.
Next steps
If your live session passed cleanly and the install completed, you're done with the hard part. The MX Linux wiki and forum cover most chipset-specific issues with documented solutions from users who encountered them first, and searching by hardware model or chipset name gets results faster than browsing by category.
If the live session surfaced problems AHS couldn't resolve, that's useful information, not a failure. Better to find out before overwriting a working OS than after. Go back to the decision section, consider whether Fedora's hardware support model fits your machine better, and test that live session before committing.
For hardware that the live session validates, the install itself is straightforward. The steps above cover the ones that actually produce problems. Everything else follows from those.