
In Outlook 2013, you can add a watermark to a new email's background by opening the Fill Effects window and selecting a suitable watermark saved as an image file. If you do not yet have a watermark image, you can create one by using Word's Watermark feature along with the Windows Snipping Tool.
Creating a Watermark Picture
Video of the Day
Step 1
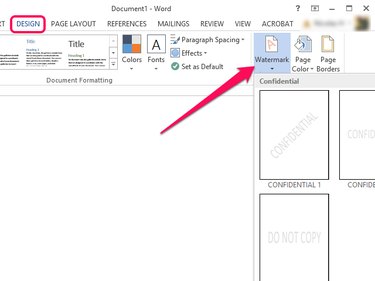
Select Design from the Ribbon in Word 2013 and click on the Watermark icon to open a list of built-in watermark templates. Click on the template you wish to use. Alternatively, select Custom Watermark to create your own.
Video of the Day
Step 2
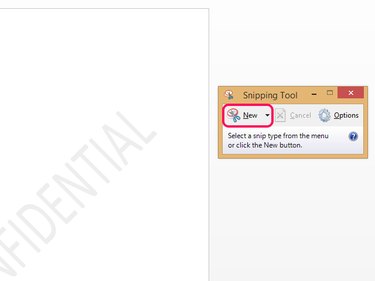
Launch the Snipping Tool 6.3 by opening the Start Screen under Windows 8.1 or the Start Menu under Windows 7, typing snipping in the search bar and selecting Snipping Tool from the list of results. Click on New and drag your mouse cursor on the Word page to select the area that contains the watermark.
Step 3

Save your cropped watermark as an image file by clicking on Save Snip in the Snipping Tool toolbar and selecting JPG or PNG from the Save as Type drop-down menu.
Adding the Watermark to an Email
Step 1
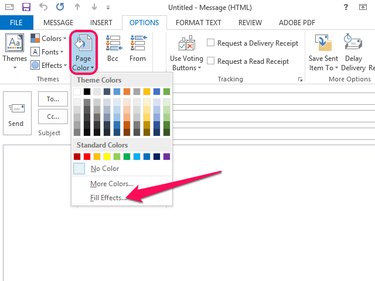
Create a new message in Outlook 2013 and select Options from the Ribbon. Click on Page Color and select Fill Effects to open the Fill Effects window.
Step 2
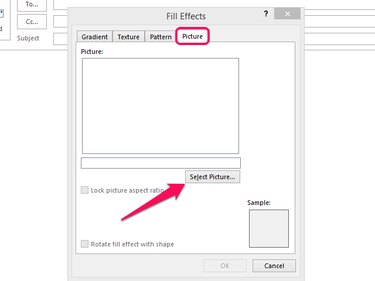
Open the Picture tab and select Choose Picture.
Step 3
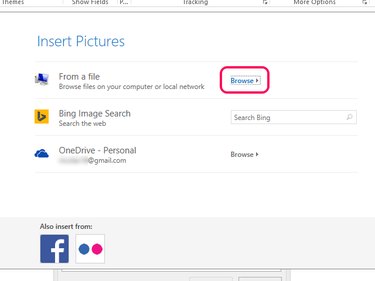
Click on Browse next to From a File to open a File Explorer dialog box and select the image file from your hard drive. As an alternative to selecting a file from your hard drive, Outlook also lets you search for an image on Bing or select a picture from your OneDrive or from your Facebook or Flickr account.
Step 4
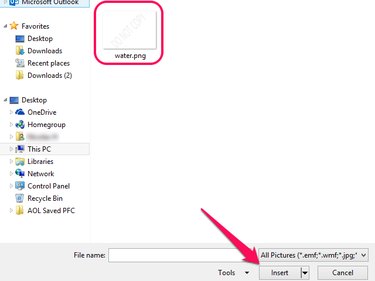
Select the file that contains your watermark and click on Insert.
Step 5

Click on OK to finish adding the watermark to your email.