
Get your graphics to pop from the page using the 3D effects available in Word 2013. Applying 3D effects to objects requires a two-prong approach in most cases, by applying a bevel first and then rotating the object. Even a slight rotation of two or three degrees makes an object appear more three-dimensional than an object that hasn't been rotated. The same effects also work on WordArt. Adding a shadow to WordArt also makes text appear to come out of the page.
Step 1
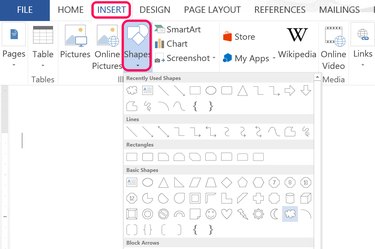
Select a shape from the Shapes icon under the Insert tab. Drag the cursor over the page to draw that shape on the document.
Video of the Day
Step 2
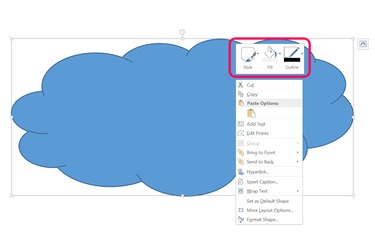
Right-click the shape to change its fill and outline colors. Select "Style" to select a color scheme based on Word's themes, or change the fill and outline separately. The outline color may be thin now, but as you apply 3D effects to the shape, it will become much more prominent.
Step 3
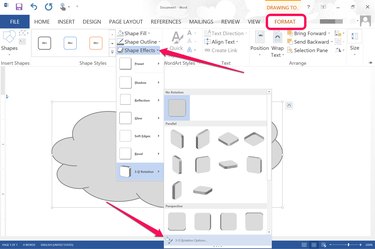
Click the shape and then click the Drawing Tools "Format" tab. Click "Shape Effects." While you can select any of the presets, including bevels and 3D rotations in this menu, it's far faster if you select "3D Rotation" and then click "3D Rotation Options." The Format Shape menu then opens on the right, with all of the 3D options displayed in one place.
Step 4
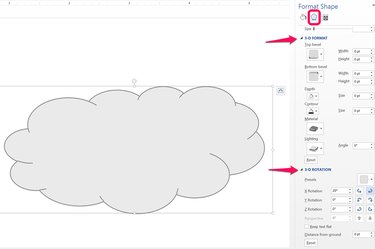
Expand both the "3D Format" and "3D Rotation" options in the Format Shape menu. Begin by adding a Top Bevel to the object. This gives the flat object a third dimension.
Step 5
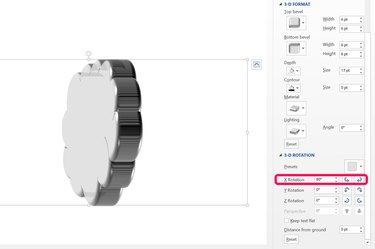
Change the rotation of the object to make its third dimension more prevalent. Just like looking at the flat surface of a penny, it's difficult to see a shape's depth until it's rotated. Once you rotate the object at the angle you want, go back to the 3D Format options to set its depth and any other settings you prefer.
Step 6
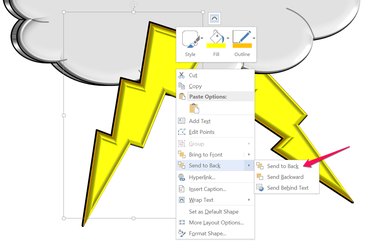
Add additional shapes and apply 3D effects to them using the 3D Format and 3D Rotation options. To place one shape behind another, right-click the shape and select "Move Backward" or "Send to Back."
To group shapes, Ctrl-click each shape, right-click one of the shapes and select "Group."
Step 7
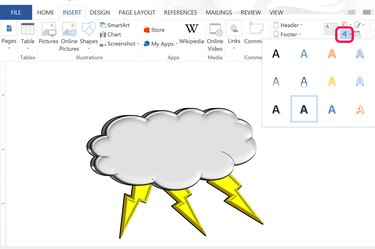
Click the "Insert" menu and then click the WordArt icon near the right end of the Ribbon. Select a WordArt style from the drop-down menu and enter your text.
Step 8
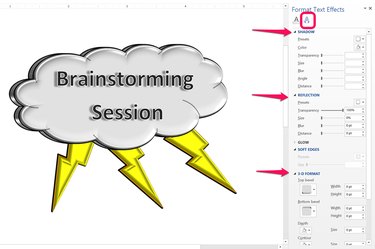
Right-click the WordArt text box near the edge and select "Format Shape." Select "Text Options" in the Format Shape menu and then click the "Text Effect" icon, which is the second A-shaped icon. Expand the "Shadow," "Reflection," 3D Format" and "3D Rotation" options to specify the 3D effects you want for the text.
Video of the Day