
Photoshop offers several methods for importing and exporting photos. If you're new to Photoshop CC 2014, however, you should note that the "Import" and "Export" features under the File menu have nothing to do with photos. Photoshop can open just about any image type and export it in the same wide variety of formats.
Importing Photos
Video of the Day
Step 1
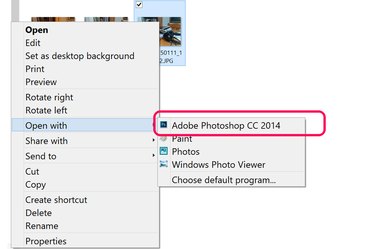
Select any image on your computer or a device connected to your computer, such as an iPhone or digital camera. Right-click the file, select "Open With" and click "Adobe Photoshop." Photoshop automatically launches and opens the image.
Video of the Day
Step 2
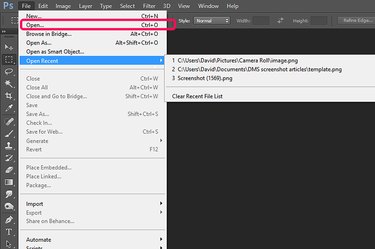
Click Photoshop's "File" menu and select "Open" to open a new file. If you recently opened an image in Photoshop, you can quickly open it again by selecting "Open Recent" from the File menu. Selecting "Open As" enables Photoshop to reformat the image during import, for instance, you can open a PSD file in JPG format.
Step 3
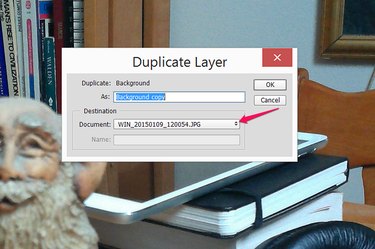
Open two different files in Photoshop and then import one into the other. Select the image you want imported and select "Duplicate" from the File menu. Click the "Document" menu, specify the destination file and then click "OK." Note that only the selected layer is imported, so if you edited the photo, merge the layers first.
Step 4
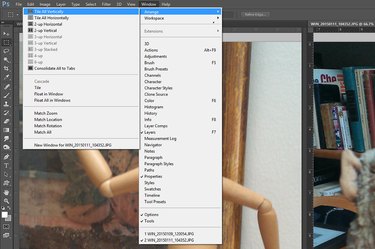
Import an image from one Photoshop file to another by dragging it. The easiest way to do this is to first tile the windows. Click the "Window" menu, select "Arrange" and then select "Tile All Vertically" or "Tile All Horizontally." You can then simply drag the photo from one window to another.
Step 5
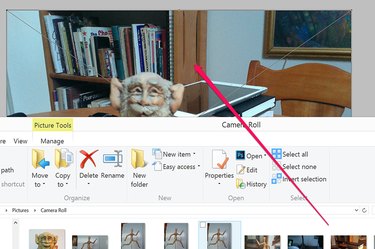
Import a photo into a Photoshop file by dragging it from File explorer. Not only is this easy, it has an added benefit -- Photoshop automatically resizes the imported image to fit the canvas. To use this method, launch File Explorer and drag any image file onto the Photoshop canvas. Press "Enter" to finish the import process. Note that if you drag the file anywhere above the canvas, such as onto the ruler or menu bar, the image opens in a new Photoshop window.
Exporting Photos
Step 1
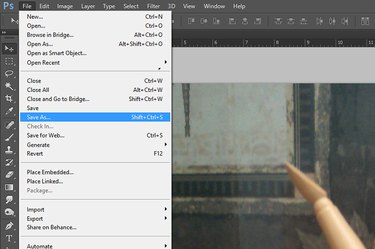
Export a photo from Photoshop by selecting "Save As" from the File menu. If you use the "Save" option, of course, Photoshop merely writes over your original photo file.
Step 2
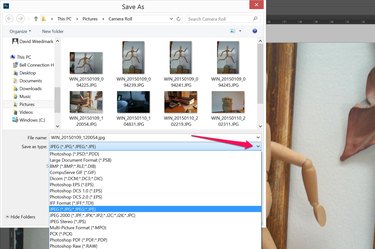
Click the "Save as Type" menu in the Save As menu to specify a file format for the photo. Save the photo in any of the many available image formats, including JPG, PNG, or Photoshop's own PSD format.
Step 3
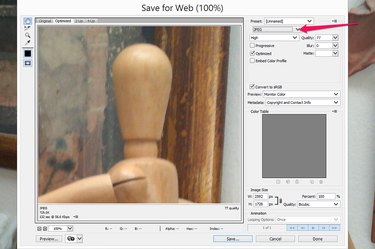
Click "Save for Web" under the File menu if you want a Web-optimized version of a photo. This saves the image with a low file size, but keeps the image sharp enough that it displays well in a Web browser. Click the "File Type" menu to specify which format you want. You can then specify the image size and, in the case of JPEG files, how quality of the photo. The higher the quality, the larger the file size.