
If you're unable to move or edit the graphics in a PowerPoint 2013 slide, the cause is nearly always one of two things. First, the graphics may have been added to the presentation's Master slide, meaning you have to go to the Master slide to edit them. The second possibility is that the graphics have been embedded into the slide's background. If this is the case, you can hide or edit the graphics by opening the slide's background properties.
Accessing Master Slide Graphics
Video of the Day
Step 1
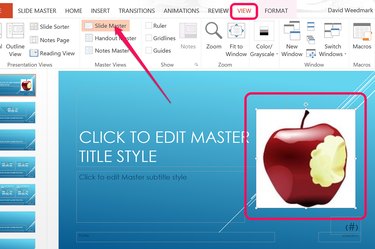
Select the PowerPoint slide you want to edit. Click the "View" tab and select the "Slide Master" icon in the Ribbon. PowerPoint takes you directly to the master that has been applied to the slide you selected. Click on the graphic to select it. If you can't select the graphic in the master, it's embedded into the master's background. If the graphic doesn't appear in the master, it's in your slide's background.
Video of the Day
To remove the graphic from the master so you can edit it on your own slide, click the graphic and press"Ctrl-X" to cut it. You also have the option to edit the graphics in the master slide, such as moving or resizing them here. Any changes made to the master are applied to all slides using that master in your presentation.
Step 2
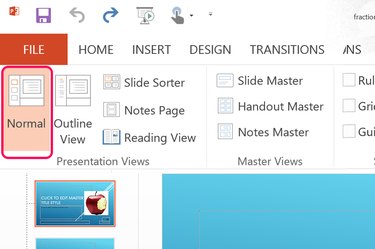
Click the "View" menu again. Select the "Normal" icon on the left end of the Ribbon to go back to your own slide.
Step 3

Press "Ctrl-V" to paste the graphic in your slide. You can now edit the graphic as needed.
Accessing Background Graphics
Step 1
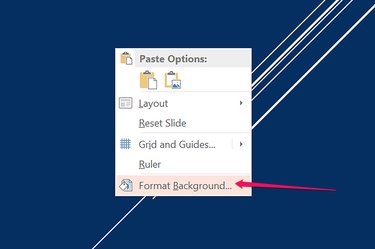
Right-click a graphic you can't edit in a slide. This may be in a slide you are working on, or in the master slide. Select the "Format Background" option in the drop-down menu. The Format Background menu appears on the right side of the window.
Step 2
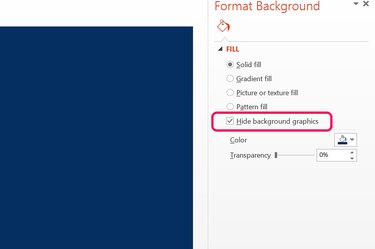
Click the "Hide Background Graphics" option. Once the graphic is hidden, you can close the Format menu and continue working on your slide, or replace the background.
Step 3
Select a solid, gradient or pattern fill to create a new background using the options in the Format Background menu.
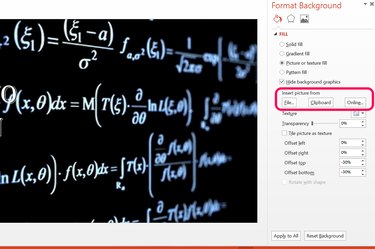
To use an image as the background, click the "Picture or Texture Fill" option. Click the "File" button to add an image from you computer. Click the "Clipboard" button to add an image you have copied to your computer's clipboard. To search for an image online, click the "Online" button. Once inserted, you can change the image's transparency or nudge it away from any edge of the slide using the provided options.