Dropbox is a convenient solution for keeping files and documents in sync across multiple devices. If you use a Mac and want to add a Dropbox folder to the Finder sidebar, download and install the free Dropbox for Mac application.
Download and Install Dropbox for Mac
Step 1: Download the install file from the Dropbox website
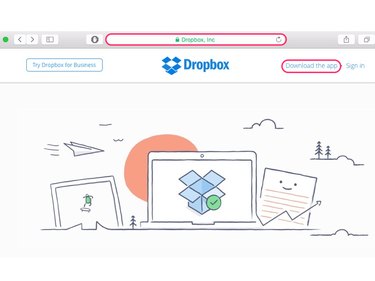
Navigate to the Dropbox website, and then select the Download the app link. Dropbox automatically downloads the appropriate install file for your Mac's operating system.
Video of the Day
Step 2: Locate the Dropbox install file
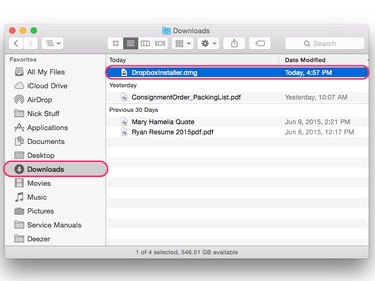
By default, Web browsers on Mac OS X Yosemite save downloads to the Downloads folder in Finder. Open Finder and navigate to the Downloads folder to find the file "DropboxInstaller.dmg." Open the Dropbox install file and follow the steps outlined in the install wizard to install Dropbox on your Mac.
Step 3: Open the Dropbox app
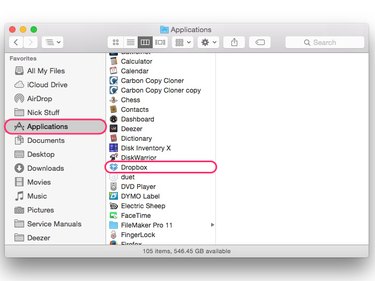
Once Dropbox installs, open the app by navigating to the Applications folder within Finder. Find the Dropbox app and double-click to open it.
Set Up the Dropbox App
Step 1: Sign in to Dropbox
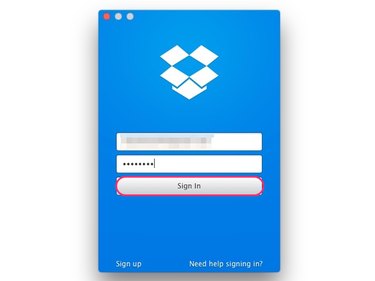
A login window appears upon opening the Dropbox app. Enter your Dropbox email and password information and then select Sign in.
Step 2: Sync and open the Dropbox folder
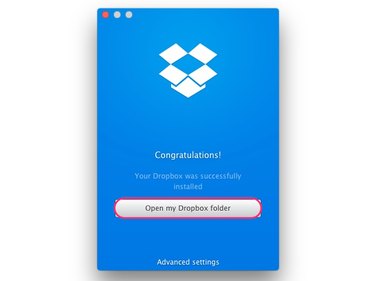
Within the Dropbox window, select Open my Dropbox folder. Enter your Mac admin username and password in the pop-up dialog box to confirm your selection and sync Dropbox with your Mac.
Using the Dropbox Folder on a Mac
Video of the Day
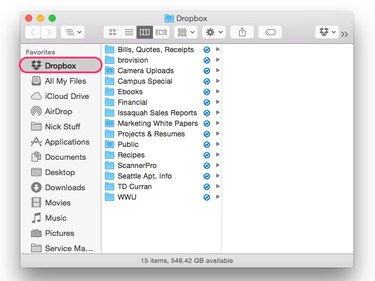
Once you sync Dropbox to your Mac, a Dropbox folder appears in the Finder sidebar. This folder mirrors the contents of your entire Dropbox. Documents and data added to the Dropbox folder of the Mac automatically upload to Dropbox as long as the Mac is connected to the Internet.
Troubleshooting the Dropbox App for Mac
If you have the Dropbox app installed on your Mac and are not seeing the Dropbox file in the Finder sidebar, check the Dropbox settings to make sure it is set up correctly.
Step 1: Enable Finder Integration
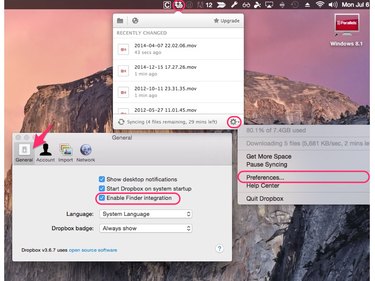
Click the Dropbox app icon in the menubar of the desktop and select the gear icon in the lower-right corner of the menu. Select Preferences. In the General tab of the Preferences window, make sure the Enable Finder integration option is checked.
Step 2: Relink the Dropbox Account
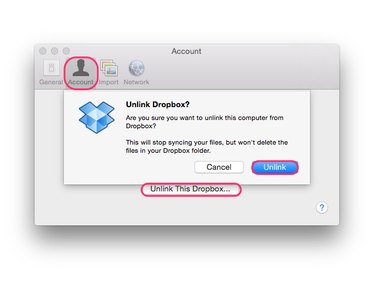
In the Dropbox Preferences window, select the Account tab. Click the Unlink this Dropbox button and then select Unlink. Reopen the Dropbox app from the Applications folder in Finder and log back in to your Dropbox account.
Step 3: Reinstall the Dropbox app
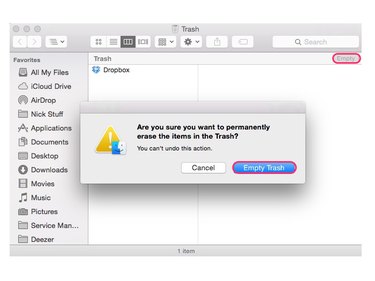
If enabling Finder integration and relinking the account does not fix the issue, try deleting and reinstalling the Dropbox app. Open the Applications folder in Finder and drag the Dropbox app to the Trash. Open the Trash and select Empty in the upper-right hand corner of the window. Click Empty again to confirm the deletion. To reinstall the Dropbox app, follow the steps listed above in the "Download and Install Dropbox for Mac" section.