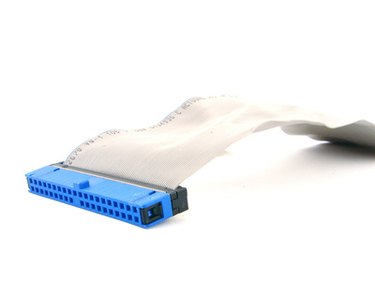
Integrated drive electronics (IDE) refers to interface hard disk drives used to connect internally to the motherboard. Desktop hard drives require a 40-pin cable to connect to the motherboard, whereas laptop hard drives require a 44-pin connector. Unlike IDE, the universal serial bus (USB) connects externally to the motherboard through a USB port located on the device panel. An IDE-to-USB adapter allows you to connect an IDE hard drive to a computer through a USB interface.
Step 1
Put on an antistatic wrist strap on your wrist to protect the IDE drive from electrostatic discharge (ESD). Remove the IDE hard drive from its antistatic bag.
Video of the Day
Step 2
Use a pair of tweezers to set the jumpers on the hard drive. Configure the hard drive as "Slave" or "Cable Select."
Step 3
Insert the 40-pin interface on the side of the adapter into the 40-pin connection on the rear of the IDE hard drive.
Step 4
Connect the 4-pin peripheral power cable to the 4-pin connection located next to the jumpers.
Step 5
Plug the power supply into a wall outlet. Plug the USB cable connected to the IDE/USB adapter into a USB slot on the computer.
Step 6
Install on the computer any software included with the IDE/USB adapter.
Video of the Day