
A restaurant point of sales system (POS) is a networked computerized ordering and record keeping system that processes orders and payments and keeps a digital record of sales, transactions, inventory and server reports. There are numerous available components that can be used to create an efficiently-running system. Although you can purchase a complete point of sales system package from a POS retailers, if you build your own restaurant POS system, you can customize it with components that will benefit your restaurant's efficiency and profits.
Building A Custom POS System
Video of the Day
Step 1

Purchase components, depending on the elements you need in your system. The essential components are a back office server, which is the main "brain" of the POS system, at least one cash drawer, a printer and a monitor. Touchscreen monitors are recommended, but a standard monitor can be used if you add a keyboard. Additional components may include multiple printers (if you have multiple work stations or prep areas), bar code scanners (if your establishment sells retail-packaged items), and magnetic strip readers (MSRs) and PIN pads if you accept credit and debit cards.
Video of the Day
Step 2

Program your back office server. Since the back office server will be the main headquarters for all of your business's transactions and procedures, set this up first. Install Microsoft Windows and the POS software on the back office server and enter in all pertinent information such as menu items, price listings, manager passwords, employee information and server numbers.
Step 3

Set up the main and sub-work stations, using your chosen components. Install a monitor, keyboard (if applicable) and printer at each work station. If you are going to use BOH (back of the house) printers that send menu item orders to separate prep areas (such as the main kitchen, bar, or a salad station), install a printer at each of these sections as well. Connect a cash drawer, MSR and PIN pad to your main work station where cash transactions are made, and additional such units to any work station that requires them.
Step 4

Connect all work station components to your back office server by creating a local area network (LAN) using Ethernet connections. Set up your Ethernet hub; connect Ethernet cables securely from the hub to each work station. Run the cables under carpets, behind furniture or through ceilings so that they cannot be tripped over or become an eye sore. Make sure each work station is properly connected to your back office server.
Step 5
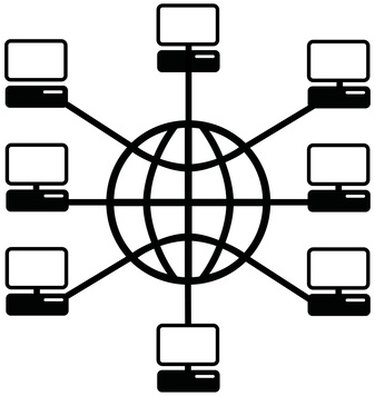
Create a network for all of your work stations. You'll need to network your system in order to make sure that all information entered is making it to the proper digital destination. Choose a software program that has been specifically designed for restaurant food and beverage sales and install it on the back office server. Most restaurant POS software programs will prompt and direct you through the installation process.
- Buyer Zone: Restaurant POS Systems
- Retail Systems: POS Hardware Basics
- All Business: Understanding the Components
- A-City Discount: Benefits of Using A Restaurant POS System
- Resource Nation: Steps in Implementing POS Systems
- Sooper Articles: Can a POS System Help my Restaurant
- Business.com: Point of Sale Systems