
Before printing a worksheet in Excel 2013, you can specify how you want it aligned on the page, including centering it vertically and horizontally, using the Page Setup options. If you want to center the numbers or text inside each cell, you can do that using the options under the Home menu.
Centering Worksheets for Printing
Video of the Day
Step 1
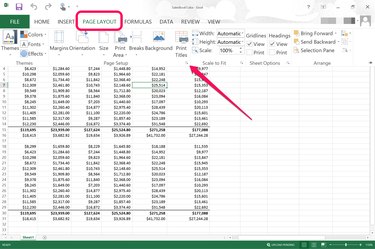
Open the worksheet you want to print. To print multiple worksheets from the same workbook, hold down the "Shift" key and click the worksheet tabs at the bottom of the window. Click the "Page Layout" menu, then click the Page Setup "Dialog Box Launcher."
Video of the Day
Step 2

Select your printer preferences in the Page Setup dialog box, including the page orientation, paper size and print quality. To fit a large worksheet onto a single page, use the "Fit To" option in the Scaling section.
Step 3
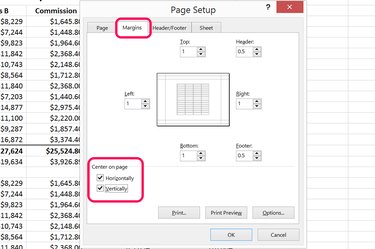
Click the "Margins" tab in the Page Setup dialog box. Specify the margins you want and then click the "Horizontally" and "Vertically" checkboxes in the Center on Page section. When both of these checkboxes are marked, the worksheet is centered directly in the middle of the page.
Centering Content Inside Cells
Step 1
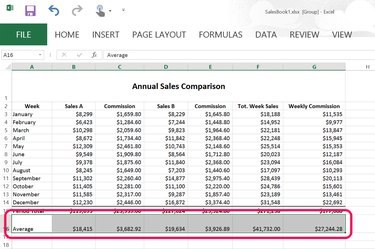
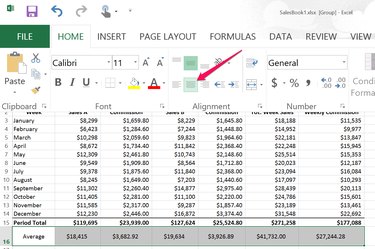
Select the cells you want centered by dragging the cursor across them. To select an entire worksheet, click the "Select All" button in the upper-left corner.
Step 2
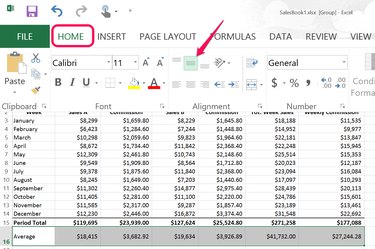
Click the "Home" menu, then click the "Middle Align" icon in the Alignment group. This centers the content of each cell so that there's an equal amount of space on the left and right.
Step 3
Click the "Center" icon located directly below the Middle Align icon. This centers the content of each cell so that the space above and below the content is the same.