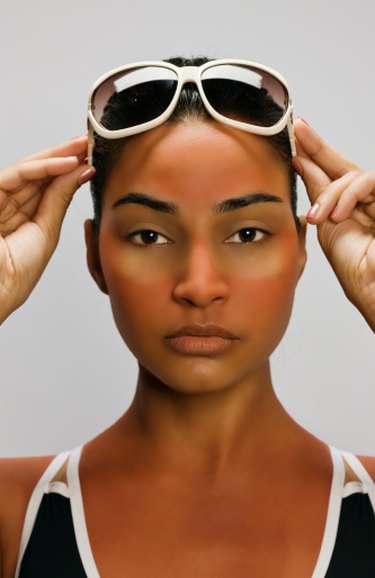
In the graphic design program GIMP, you can re-color an image and change the appearance of a number of elements, such as skin tone. If you want to give someone a more bronzed look, for example, you can create a sepia-toned duplicate of your original file and merge the portions you want of the original with the portions you want to keep from the sepia copy. You will effectively change the appearance of the skin color without ultimately affecting any other element.
Step 1
Launch the editing software. Open the picture you want to edit by clicking on "File" and "Open." Select your picture from the documents listed, and press "Open."
Video of the Day
Step 2
Prompt the "Layers" toolbar to appear by clicking on the "Windows" tab. Select "Dockable Dialogs" and then "Layers." The layers menu will appear as its own box. Presently, your workbook only has one layer titled "Background." Right-click the thumbnail preview that corresponds to this layer, and select "Duplicate Layer." A second layer will appear with the title "Background copy." You can double click on that text and insert a new name for your layer, if desired, such as "Bronzed copy." Press "Enter" when you are finished to leave the title editing mode. Make sure this copy has a transparency channel by clicking the "Layers" tab again. This time, select "Transparency" and "Add Alpha Channel."
Step 3
Click the "Colors" tab, and then select "Colorize." A pop-up box will appear, letting you choose the hue, saturation and lightness of your layer. If you want to create a tanned look, use the scroll bar next to "Hue" to select a level around "30." If you want a darker appearance, decrease the lightness to around "-15." Play around with the levels through trial and error to preview what will look best. When satisfied, press "OK."
Step 4
Locate the "Eraser Tool" in the main toolbar. Click on it. Double-click your cursor on an area where you want the bronzed look to be erased and drag your cursor over similar areas. You can also use the "Rectangle Select Tool" or "Ellipse Select Tool" to isolate large areas. Press "Delete." Your original image will be visible everywhere you have deleted your top layer.
Step 5
Save your multi-layer document by clicking "File" and "Save As." Insert a name for your creation and then use a picture file extension such as ".PNG" or ".JPG." Press "Save." Follow the "Export File" prompts to compress your layers into one flattened image.
Video of the Day