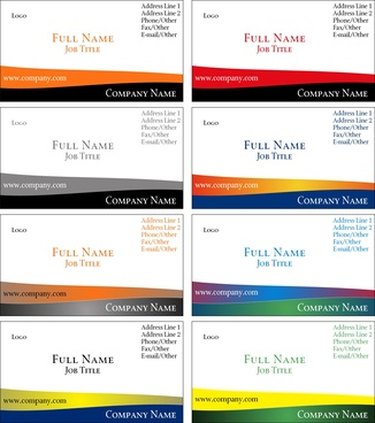
Avery business cards are ideal if you want to create your own business cards. Setting the margins for your business cards manually can be tricky. Although the layout and margins are preset in Microsoft Word, you can set them yourself as well. You’ll just need to know the Avery product number of the business cards you're creating. You can also double-check the margins that are set up for your business cards beforehand. The margins will differ, based on your Avery stationery.
Step 1
Check the Avery business cards for the correct product number.
Video of the Day
Step 2
Open a new document in Microsoft Word, then select “Tools,” “Letters and Mailings” and “Envelopes and Labels” from the toolbar. The “Envelopes and Labels” dialog box will open.
Step 3
Select the "Labels" tab. Then click on the "Options" button.
Step 4
Select "Avery standard" from the "Labels products" drop-down in the "Label Options" dialog box. Then select the matching product number for your business cards from the "Product number" list, such as "5371 - Business Card."
Step 5
Click on the "Details" button to open the margin settings and dimensions. The settings for the "5371" cards are: top margin (0.5"), side margin (0.75"), vertical pitch (2"), horizontal pitch (3.5"), label height (2"), label width (3.5"), number across (2) and number down (5). To set or change the margins, replace the value within each field with the margins you prefer.
Step 6
Click on "OK" to accept the settings, then click "OK" to close the "Label Options" dialog box.
Step 7
Enter the contents for your business card into the "Address" text box. To format the text within the text box, select the text you want to modify. Right click over it and choose "Font." Select the font, style, size and color you want to use. Then click "OK" and "New Document." To insert an image on your business card, follow steps 8 and 9.
Step 8
Click on "Table" and "Show Gridlines" from the toolbar. (If you entered the contents for your business card in the "Address" text box in the previous step, continue to step 10).
Step 9
Leave the "Address" text box blank and click on "New Document." Type the contents of your card into the first cell. To insert an image, click on "Insert," "Picture" and "From File." Double click the image you want to add. Once the first card looks right to you, select the entire cell and copy its contents ("Edit" and "Copy"). Then paste ("Edit" and "Paste") the contents into the other cells until all cells are filled.
Step 10
Double-check that your contents are centered. Then save ("File" and "Save") and print ("File" and "Print") the business cards.
Video of the Day