
There are many standard employment application forms available. A prospective employer can purchase them in bulk or print them from a template. However, some businesses need to collect information from potential new employees that is specific to the position. Others simply prefer to have electronic forms that possible new hires can complete, with drop-down answer fields and check boxes. If you are comfortable working in Microsoft Word or Excel, use these program features and tools to make a custom application.
Step 1
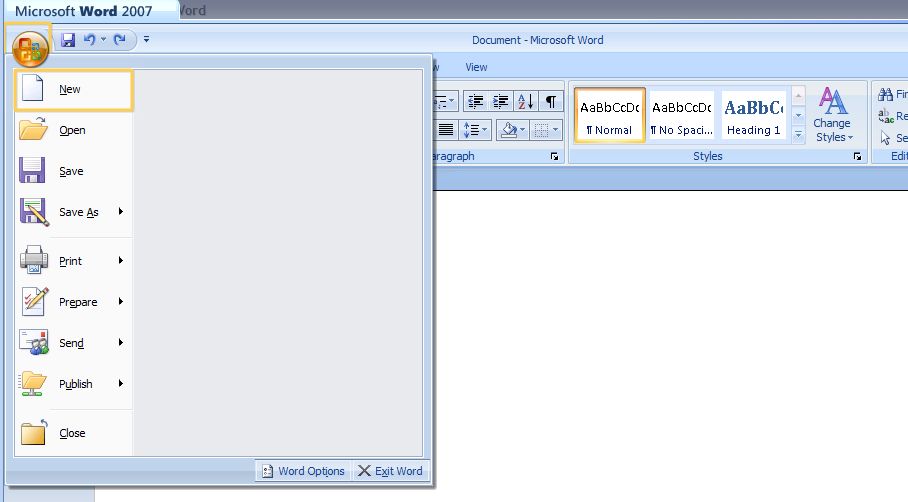
Start Microsoft Word. In Word 2003, go to the "File" menu and click "New." In Word 2007, click the "Office Button" and click "New."
Video of the Day
Step 2
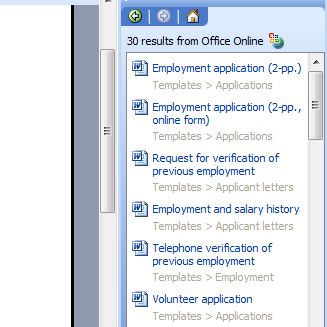
Type "Employment Application" in the "Templates on Office Online" box and click the "Search" button. Select "Employment Application 2-pp Online Form" in the "Search Results" list. Click the "Download" button, and an application will open as a new Word document.
Step 3
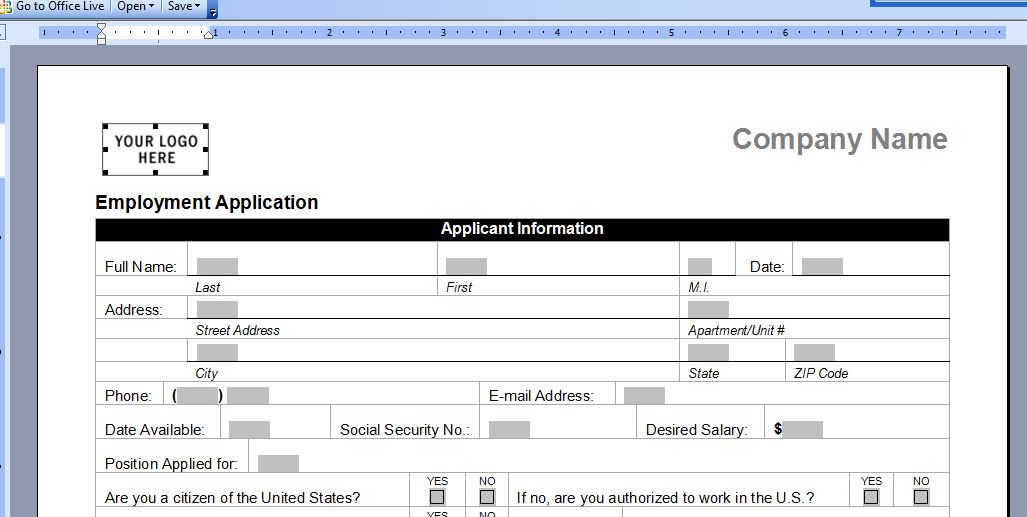
Enter your company logo by selecting "Your Logo Here." Go to the "Insert" menu in Word 2003, point to "Picture" and click "From File." In Word 2007, go to the "Insert" tab and click on "Picture." Find the logo on your computer and insert it. Type the name of your business over "Company Name."
Step 4
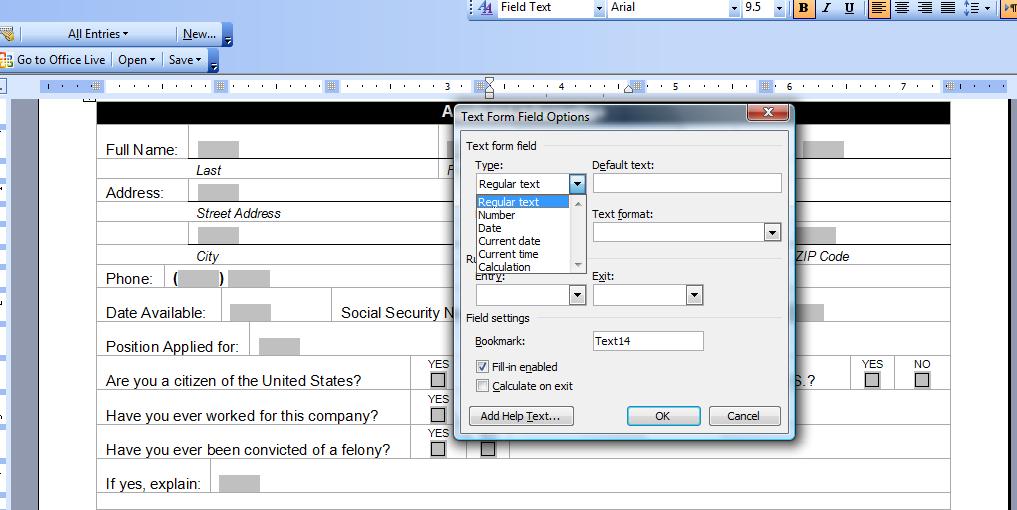
Change any of the template example fields by selecting them and typing over the text. To alter the properties of a form field, double-click the gray field area, and the "Form Field Options" dialog box will open. Select an option from a drop-down menu, or click the "Add Help Text" button for more options.
Step 5

Save the application when finished. Before allowing an applicant to fill in an application in Word, open the document and save it with a new name, such as the applicant's name or the date, so that the original will not be changed.
Step 6

Start Microsoft Excel. Open a new, blank workbook. Insert a company logo by going to the "Insert" menu in Excel 2003. Point to "Picture" and click "From File." In Excel 2007, go to the "Insert" tab and click on "Picture." Find the logo on your computer and insert it on the left side of the page. Enter a text box on the right side and type the name of your business inside it.
Step 7
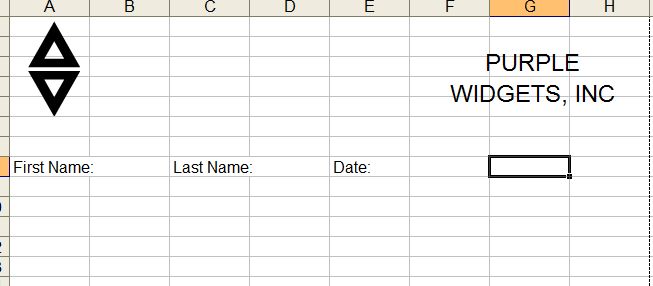
Type the desired questions into cells on the spreadsheet. Leave empty the adjoining cells for the applicants to type into.
Step 8
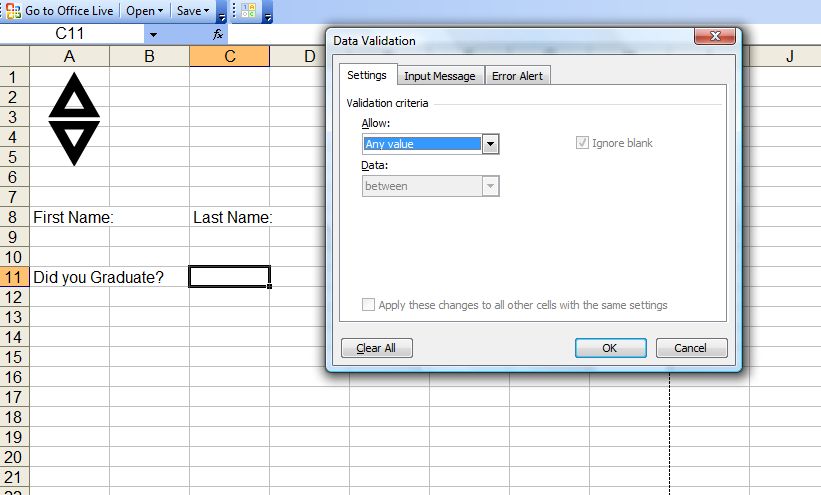
Create "Yes" or "No" drop-down lists from which applicants can select an answer. Go to the "Data" tab in Excel 2007 or the "Data" menu in Excel 2003 and select "Data Validation." Go to the "Settings" tab of the Data Validation dialog box.
Step 9
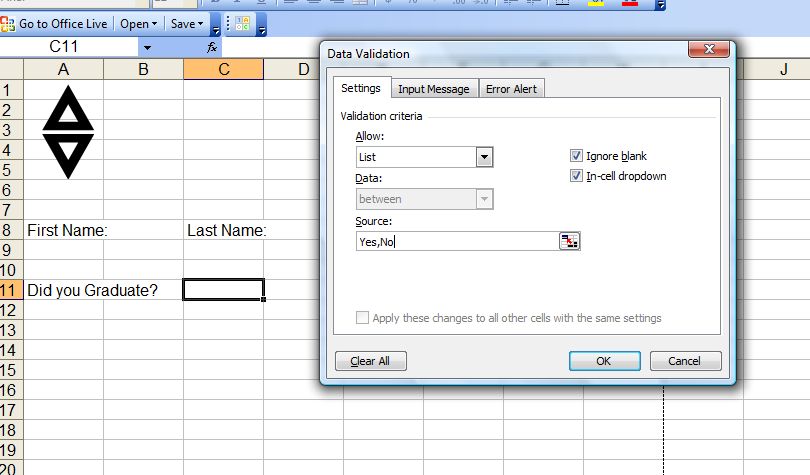
Select "List" in the "Allow" drop-down list. In the "Source" field, type "Yes,No" (without quotes). Click "OK" to apply the drop-down list.
Step 10
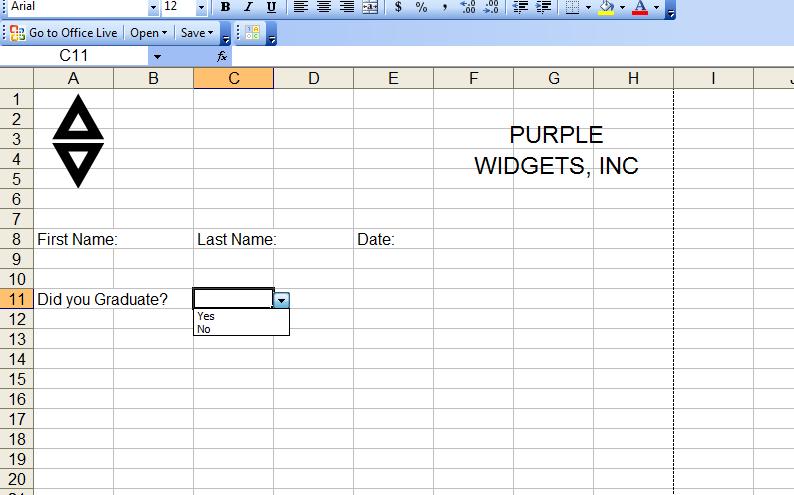
Enter other data into the "Source" field of the Data Validation box to create custom lists. Type a comma between each list item. When applicants click in the cell, they will be presented with a list of options from which to choose. Save the application when complete.
Video of the Day