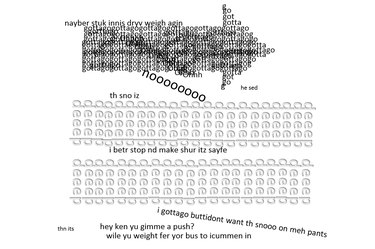
Concrete poetry is any poetry that uses the graphic shapes of letters, words, or symbols to convey meaning, rather than the meaning of the words themselves. Years ago, concrete poems were written on typewriters, often layering words on top of each other. When writing concrete poetry in Word 2013, free yourself from the limitations of linear lines and paragraphs by using text boxes, Word Art and shapes to sculpt your work as you see fit.
Using Text Boxes and Word Art
Video of the Day
Step 1
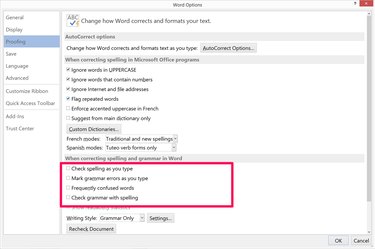
Launch Word and create a new blank document. Click the "File" menu and turn off automatic spell check by clicking "Options," then "Proofing" and then clearing all the check boxes in the When Correcting Spelling and Grammar in Word. If you leave these selected, your entire poem will be highlighted for spelling and grammar mistakes.
Video of the Day
Step 2
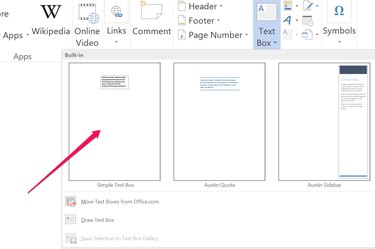
Click the "Insert" menu and select "Text Box." Click the "Simple Text Box" icon.
Step 3
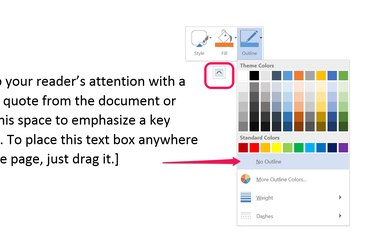
Click the small icon that appears near the top right corner of the text box, select "Outline" and click "No Outline." Click the small icon again, select "Fill" and select "No Fill." This allows you to layer text boxes on top of each other without your words being covered by text box lines and backgrounds.
Step 4
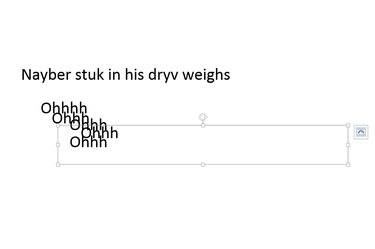
Replace the text in the text box with your own words, letters or symbols to begin your concrete poem. Copy the text box by clicking the line around its border to select it, then pressing "Ctrl-C." Paste copies of the text box into your poem by pressing "Ctrl-V." Add as many text boxes as you wish, placing them wherever you want. Note that if you place one on top of the other, you can sculpt shapes out of the words.
Step 5
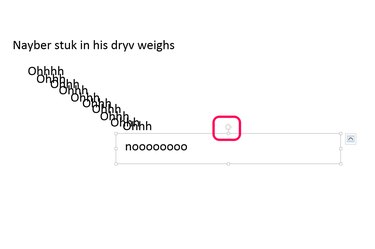
Drag the "Rotation" handle above a text box to rotate it. When you drag a rotated text box, it flips back to its original orientation momentarily, but it will always go back to the rotation you set when you click away from it again.
Step 6
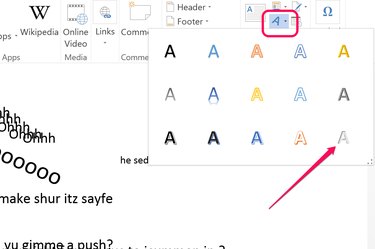
Click the "Insert" menu and click the A-shaped "Word Art" icon if you want to take advantage of Word's unique Word Art. Select a style that suits your poem and enter any words, letters or symbols you wish.
Step 7

Manipulate the Word Art text boxes just as you would an ordinary text box. Remember to incorporate the shapes of the letters and symbols into your poem, as these are just as important -- and sometimes more so -- as the words themselves. For example, the word "deep" written in a light-gray font, turned on its side and repeated, can give the impression of deep snow or tire tracks in the snow.
Using Shapes to Sculpt a Poem
Step 1
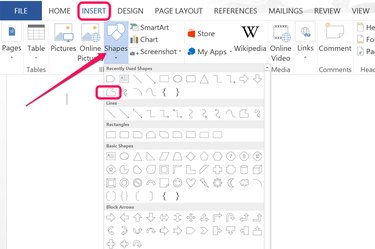
Open a new blank document in Word. Click the "Insert" menu and select shapes. Choose any shape to use as a stencil for words in your poem, or select the "Freeform" tool to draw your own shape.
Step 2
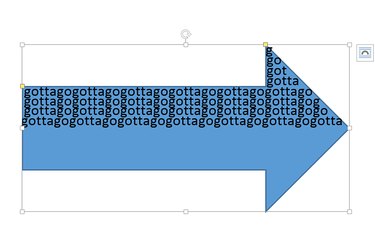
Copy a text box from your first document without an outline and fill, and paste it into this document. Enter your words and position the text box so the letters are over the shape. Copy and paste text boxes, adding whatever content you wish until most of the shape is covered. Select the shape and press "Delete" to remove it before it's completely covered. It's very difficult to select the shape when it's completely covered.
Step 3
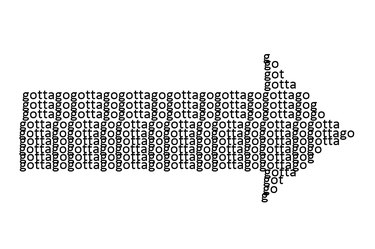
Finish assembling your shape with text boxes. Press "Ctrl-A" to select them all and "Ctrl-C" to copy them. Place the cursor on your poem where you want the shape to appear and press "Ctrl-V." If you don't like where they appear, press "Ctrl-Z" to undo, reposition the cursor and try pasting again.
Step 4
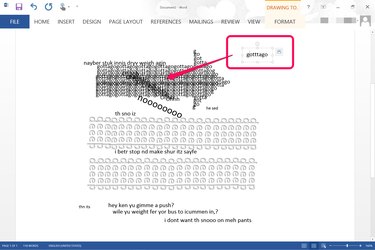
Finish your concrete poem by adding additional words, letters and symbols. As you work on it, examine the shapes of the words you have already to look for new ways to use patterns and repetition to add new content to your poem.