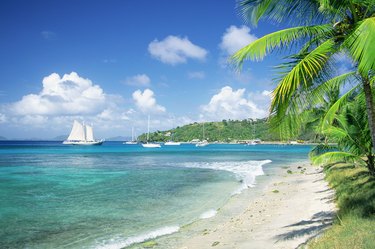
Beach and ocean scenes are often brightly lit with large amounts of reflected sunlight and glare from the sand and water. When you shoot ocean scenes with your camera set to Auto mode, you can end up with too-bright images or images that are dark and dull. Use image-editing software to correct the overall exposure; then, select the ocean and increase its color saturation to turn a bland snapshot into a work of art.
Fixing the Overall Exposure
Video of the Day
Begin to make your beach or ocean scene better by correcting the overall exposure of the image. There are two ways to do this: adjust the lightness or brightness of the image and adjust the contrast in the picture. Free online photo editing software such as LunaPic, FotoFlexer and Pixlr allow you to upload an image, make basic and advanced adjustments and then save your work to your own computer. To correct exposure, look for brightness, contrast and color balance tools in the software of your choice and use the sliders to lighten or darken the image.
Video of the Day
Adjusting Highlights and Shadows
The next step in adjusting the beach scene is to adjust the highlights and shadows. The online programs Pixlr and FotoFlexer support Levels and Curves, which are powerful tools you can use to adjust highlights and shadows. Free downloadable software programs that support curves include GIMP and Paint.NET, as well as paid programs like Photoshop, Photoshop Elements and Corel's PaintShop Pro. Whatever program you use, adjust the RGB curves carefully so the bright areas of the image don't become pure white, or you risk losing detail in the waves. Also be careful that the shadows do not go pure black. Note that since many programs emulate Photoshop, you can follow Photoshop tutorials for basic instructions and adapt them to your own software.
Adjusting Midtones
Adjust the midtones of the image, which are those parts of your photograph that are neither solid black nor pure white. Midtones can be corrected by using the Curves tool. The Curves tool may show a histogram but it will have a diagonal line from lower left to upper right. Click on the middle of that line and drag it to adjust the image's midtones. Adjust the slider to taste, but err on the side of doing too little to the image, especially if it is something you want to print. You can click on other areas of the line and move them to get extreme color results.
Making the Deep Sea Blue
So far your photo edits have been made to the entire image. Now it's time to select just the ocean. Most software programs have a variety of ways to make selections. You can use an eyedropper tool to select just the color you want or use a lasso to outline the area and create a selection. Some programs let you save the selection. After you have the ocean selected, change the color through the Hue and Saturation menu, Color Balance, Smart Recolor or other color adjustment tools -- including Curves. Hue changes the color of the ocean water and Saturation increases the color's intensity.