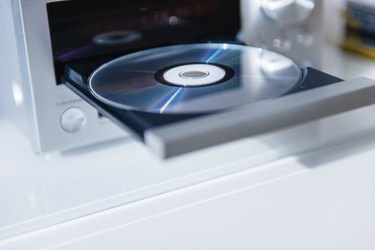
Saving data to a rewriteable DVD enables you to transport or share data in a convenient package that's flexible too. You can format a DVD in either mastered format or the Live File System. A mastered DVD acts like a read-only disc once it is finalized. The Live File System behaves more like a memory stick, in that you can read, write and erase data on the disc without a formal DVD burning step. Rewriteable DVDs can be erased and formatted many times using File Explorer in Windows 8.1
Step 1
Open File Explorer by pointing to the upper-right corner of your screen and moving the cursor down. Click "Search" and enter "file explorer" in the search box. Click "File Explorer" in the results.
Video of the Day
Step 2
Click "This PC," then select the DVD drive with the disc you wish to format. A write-protected DVD-RW disc can be reformatted after being erased. Right-click the DVD drive and select "Erase" from the drop-down menu. In some cases, you may need to erase individual files or folders from the right pane.
Step 3
Click the DVD drive icon in the left pane, once all contents are erased, and the Burn a Disc dialog will open. Enter a title for your DVD if desired, then select your format method. "Like a USB flash drive" uses the Live File System to allow saving and editing as you work, and "With a CD/DVD player" creates a disc that works as a read-only disk until you erase and format it again. Click "Next" after choosing your format, and the format process begins.
Video of the Day