Word 2013's default layout setting treats images like text, positioning pictures as if they were merely large letters. In most cases, this setting makes aligning images needlessly difficult, especially if you need to fit multiple pictures next to each other without ruining the flow of text. To place your images on the page with more finesse, change the layout option and drag the pictures where you want them.
Step 1
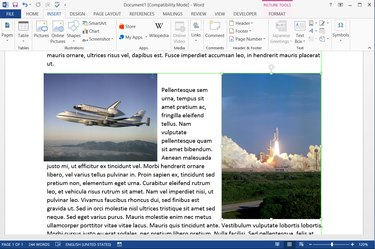
Open the "Insert" tab and click "Pictures" in the Illustrations section to select and insert your images. At this point, the images are likely to disrupt the page layout -- do not try to adjust the text to fix it.
Video of the Day
Step 2

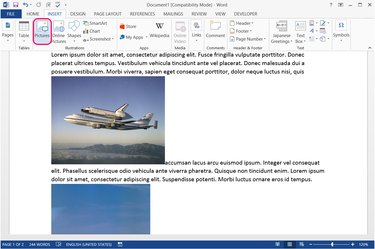
Select the first image and press the "Layout Options" button. Change the image layout to any of the options in the With Text Wrapping section other than "Top and Bottom." For most uses, "Tight" or "Square" work well.
Step 3
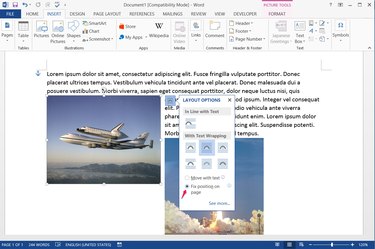
Choose "Fix Position on Page" if you want to lock the image where you place it, rather than have it move with nearby text. Fixing the position works best for flowing text around images in a set location, while leaving the option on "Move With Text" works better for keeping images tied to specific paragraphs.
Step 4
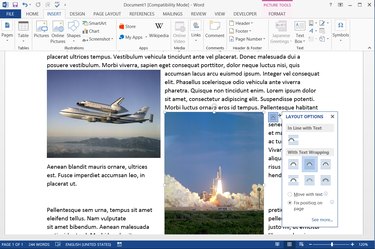
Apply the same layout settings to the second image. Make sure to set "Fix Position on Page" or "Move With Text" identically on both images or the two will fall out of alignment later.
Step 5

Drag the first image wherever you want it on the page, and then drag the second image in line with it. As you drag the second image, a thin green line appears when the two images are perfectly aligned. The mouse cursor also sticks in place momentarily at this point to help you drop the picture correctly.
Video of the Day
- Office Blogs: Working With Images Gets Simpler in the New Word
- University of Wisconsin Eau Claire: Microsoft Word 2007 -- Working With Images
- Office Online: Insert or Create a Table
- Office Blogs: Understanding Images: Part 2 -- Wrapping Styles
- Microsoft TechNet: Use Object Anchors to Help Place Images in Word