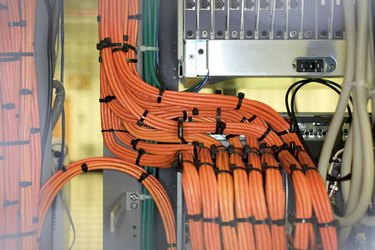
Ribbon cables are designed to bundle a large number of wires into a flat configuration that takes up little space. Ribbon cables are used primarily in desktop computers and home audio components. The glue used to bond a ribbon cable to a circuit board is slightly flexible and noncorrosive. Because of these two factors, ribbon cables have a tendency to separate from the circuit board over time. Use a few basic techniques and a hot-glue gun to adhere a ribbon to a circuit board.
Step 1
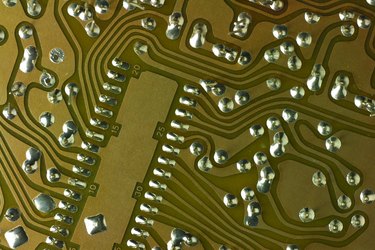
Access the circuit board. Circuit boards are enclosed in a case. Most electronics manufacturers use Phillips screws to mount their casings. Use a Phillips screwdriver to remove the case's mounting screws. Place them in a plastic bag for safekeeping. Remove the case.
Video of the Day
Step 2
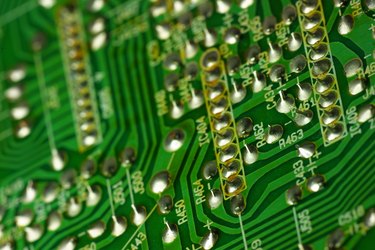
Determine the ribbon cable's mounting location. The cable will be glued to the circuit board. While the glue used to mount the cable will not damage the circuit board, it will create a barrier between the board and the ribbon. This barrier will trap heat and moisture that can create problems for any components underneath the glue. Find two locations on the circuit board that have no circuitry or components running through them.
Step 3
Mark the mounting locations. Use a permanent marker to mark the gluing locations on the circuit board. Draw a simple "X" to denote the locations.
Step 4
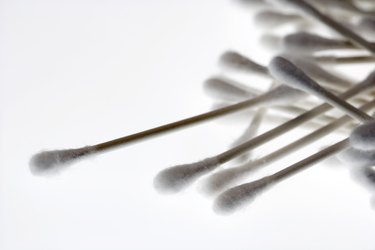
Clean the gluing locations. Over time, dirt and debris will build up on a circuit board, creating a barrier that will weaken the glue's bond. Dip a cotton swab in rubbing alcohol. Squeeze off the excess alcohol. Rub the tip of the cotton swab over the area until all dirt and debris have been removed. Allow 30 minutes of drying time before continuing.
Step 5
Wipe off the ribbon cable. The ribbon cable will collect dirt and debris over time as well. Use a cotton rag dipped in rubbing alcohol to wipe down both sides of the ribbon cable. Allow 30 minutes of drying time.
Step 6
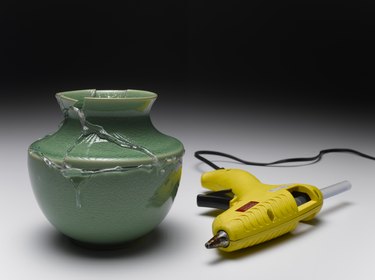
Prepare the hot-glue gun. This project uses all-purpose glue sticks designed for crafting. Place a glue stick in the glue gun. Squeeze the glue gun's trigger to pull the glue stick toward its dispensing tip. Plug the glue gun in and allow it to warm up for five minutes.
Step 7
Position the ribbon cable. Make sure the cable is not twisted and is following the straightest path toward its destination.
Step 8
Apply hot glue to the circuit board. Place two thin beads of glue, the same width as the ribbon cable, on the circuit board in the previously designated locations.
Step 9
Attach the ribbon cable to the circuit board. Place the ribbon cable on the beads of glue. Gently push down on the ribbon cable until the glue starts to spread out from the cable's sides. Allow the glue to dry for three hours. Reassemble the case.
Video of the Day