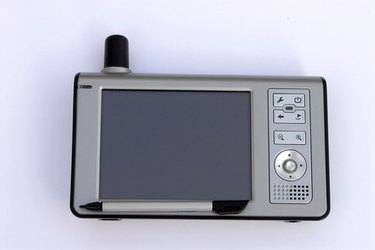
GPS devices use satellite systems to provide global navigation at all times anywhere the information can be accessed. Windows CE is an embedded operating system designed for devices that need to utilize only specific aspects of it such as mobile phone devices, satellite systems and GPS devices. GPS device makers can decide what components of the OS they wish to use. You can load Windows CE 6 onto a GPS system in a few clicks.
Step 1
Navigate to the Windows CE download page (see Resources).
Video of the Day
Step 2
Download Windows CE 6 onto the computer by clicking the "Download" link. Store the download on the local hard drive.
Step 3
Download and install Windows Mobile Device Center (see Resources). Complete the onscreen prompts for the installation. Save the file to the local hard drive.
Step 4
Launch Windows Mobile Device Center. Connect the GPS to the computer by attaching one end of the USB cable to the GPS's USB port and the other end of the USB cable to the computer's USB port.
Step 5
Click "File Management" in Windows Mobile Device Center. Locate the Windows CE 6 download and drag it to the GPS icon displayed. Wait for the transfer to complete. Disconnect the GPS from the computer.
Video of the Day