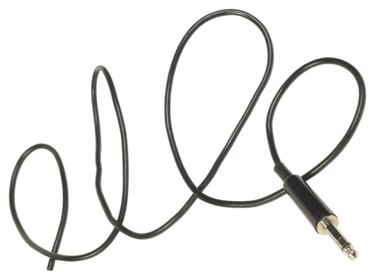
As more and more people purchase electronic devices such as MP3 players and mobile phones that can play audio files, 3.5-mm audio cables are something many find themselves needing at one point or another. Many new automobiles even come with a female 3.5-mm audio jack that makes connecting audio devices to the car stereo quick and simple.
While 3.5mm audio cables are inexpensive, there might come a time when you need one in a rush or simply don't want to visit the local electronics store to buy one. If this is the case, and you have a couple of sets of old ear buds lying around, you can create your own 3.5mm audio cable in a matter of minutes.
Video of the Day
Video of the Day
Step 1
Cut the cable off a pair of ear buds or mini headphones with a pair of scissors. Cut the cable close to the earpiece or headband. Do the same with the second set of buds or headphones.
Step 2
Use the wire strippers to strip of about one inch of insulation at the cut end of each 3.5-mm cable. This will expose the inner wires of the cable.
Step 3
Use a cigarette lighter to burn away the lacquer cover on the inner wires of the audio cable. Do this carefully and do not hold the flame to the wires too long. It should only a take a second or two to melt the lacquer covering on the wires and expose the copper inside.
Step 4
Twist the ends of the exposed copper wires so that they are neat and straight. If you will be using heat shrink tubing to cover the spliced connection area of the cable, slide the tube over one of the pieces of audio cable. If using electrical tape to cover the splice, do not install heat shrink tubing.
Step 5
Match the colors on the first cable to the corresponding wires on the second. Carefully twist the wires to together until the connections are tight and produce a single audio cable with male 3.5-mm adapters on both ends.
Step 6
Plug in the soldering iron and allow it to heat up. Solder a tiny spot of solder flux onto the points where you twisted
Step 7
Use electrical tape to insulate the individual wire splices. Do not apply too much tape or the wires will bulge and be unsightly. Wrap the tape two or three times to insulate the inner wires from each other.
Step 8
Slide the heat shrink tubing over the spliced area and heat with a hair dryer. Heat the tubing on a low setting until the tube is tight around the spliced area of the cable. Alternatively, wrap the spliced area of the cable neatly with electrical tape.