
Stencils are used prior to tattooing to ensure that tattoos are placed correctly and applied accurately. There are several ways to make a tattoo stencil, including hand tracing a design on contact paper or printing a stencil using a thermal copy machine. A simple and economical way to make a tattoo stencil uses an older model dot-matrix printer and carbon transfer paper.
Step 1

Ensure that the dot-matrix printer is connected to the computer you will be using and open the desired image on the computer.
Video of the Day
Step 2

Print the image on a piece of printer paper to make sure that the design is the correct size and proportion. Observe what side of the paper the printed image is on so that the carbon paper can be positioned correctly.
Step 3
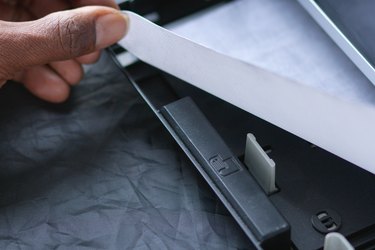
Insert carbon tracing paper into the printer tray, ensuring that the top side of the paper will be receiving the ink. The white side of the tracing paper needs to be exposed to the printer head to receive the ink and pressure.
Step 4
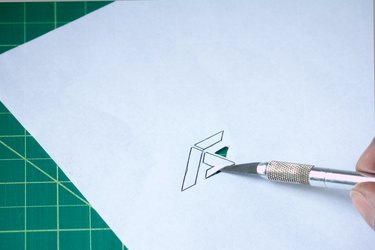
Cut the image from the paper. Stay close to the edge of the paper to make the stencil easier to work with.
Step 5

Apply deodorant to the to the skin where the tattoo will be and place the stencil transfer side down. Press firmly to transfer the stencil image and remove the paper.
Video of the Day