PowerPoint's Shapes menu has several curved arrows that you can add to slides. If the defaults aren't quite what you're looking for, you can create your own arrows from shapes. Once you've inserted or created an arrow, use drawing and formatting tools to get it looking just right.
Add a Curved Arrow
Video of the Day
Insert a Default Arrow
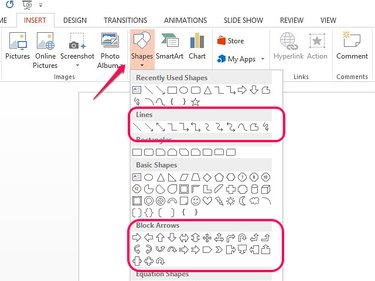
Open the Insert tab and select Shapes. Look in the Lines or Block Arrows areas to find curved arrow shapes and select the one you want to use.
Video of the Day
Click on the slide and drag to insert the arrow.
Make an Arrow
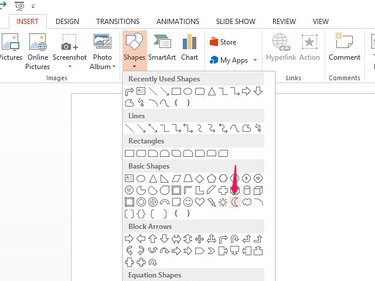
Select Shapes on the Insert tab and select the half moon symbol in the Basic Shapes area. This creates a curved tail for the arrow.
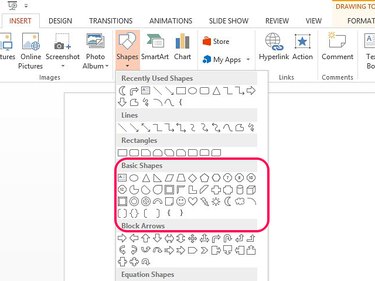
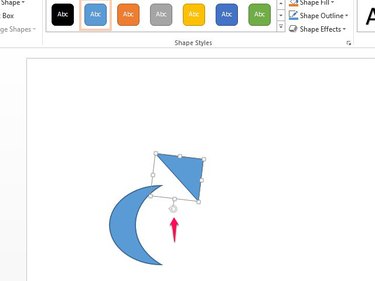
Click and drag on the slide to insert the shape. Reopen Shapes and select one of the triangles in Basic Shapes to use as the head.
Click and drag to insert the triangle close to the top of the arrow. Drag the symbol into position; use the circle grab handle to rotate it.
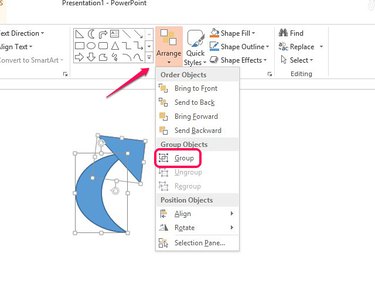
When you're happy with the arrow, group its parts to make it a single image. Select the tail shape, hold down the Shift key and select the head. Boxes will appear around both parts. Select Arrange and then Group.
Edit the Curved Arrow
Use formatting and drawing tools to change the shape, size, position, color and design of the curved arrow.
Change the Arrow's Shape
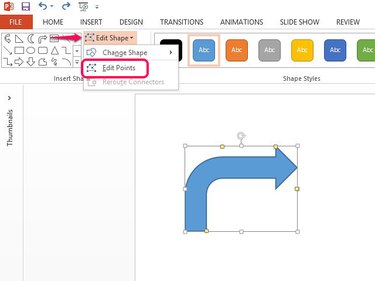
Use edit points to change the shape of the arrow. Select the arrow and open Edit Shape on the Format tab. Select Edit Points.
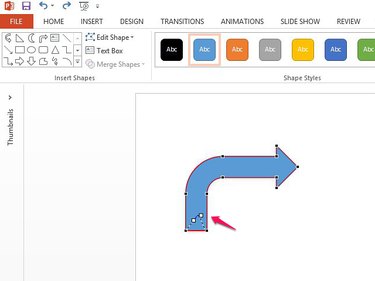
A series of black squares appear on the arrow. Drag any square to change the shape or drag any point on a line to move it. For example, to give the arrow a forked tail, click in the middle of the base line and drag up to create a triangle gap. Release your mouse to apply the change.
Resize or Reposition the Arrow
Select the arrow. To increase or decrease its size, drag the squares out or in. To change its position on the slide, use the circle grab handle to drag the symbol around.
Change the Arrow's Color or Theme
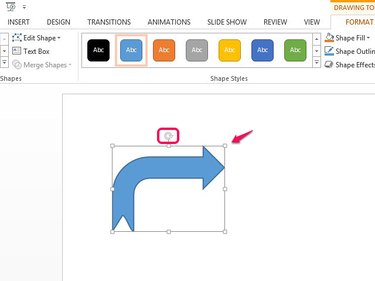
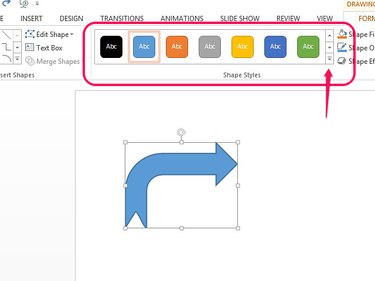
Select the shape. To switch to a default color style, select an option from the Shape Styles bar. Select the down arrow on the bar to see more options. Select a style to apply the change.
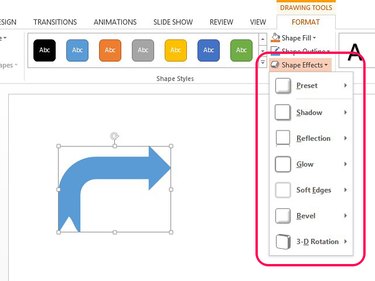
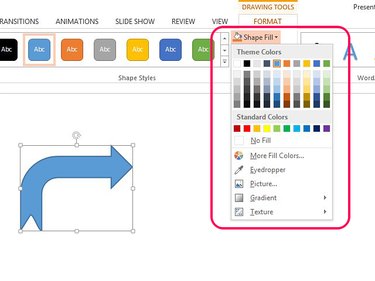
To customize the arrow's color, style and effects, use the Shape Fill, Shape Outline and Shape Effects buttons.
Use Shape Fill to change the fill color and add gradient and texture effects. You can also use a picture to create a fill.
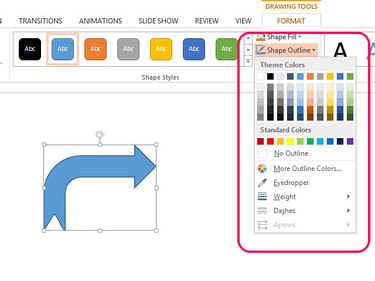
Use Shape Outline to change the color, weight and style of the outline or to remove it.
Use Shape Effects to add special effects to the arrow, including reflection, glow and 3D rotation.