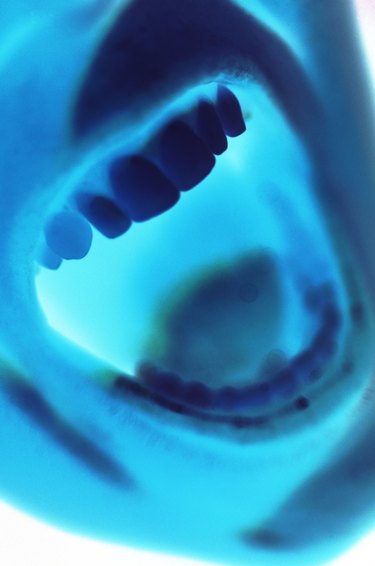
Film photographs are recorded onto the film strip as negative images, where all of the colors are reversed. When the film strip is converted to prints, the negative image is converted to a positive image. Turning photographs into negatives can provide a unique look for art or design work. The GIMP editor has the ability to create negatives from any digital image with only a few simple steps. You can even choose to turn a color photo into a black and white negative for more contrast.
Color Negative
Video of the Day
Step 1
Open GIMP by clicking its icon on the desktop or in the "Programs" section of the Start menu.
Video of the Day
Step 2
Open your image in GIMP by clicking "File" then "Open" and double-clicking the image file.
Step 3
Click "Image" in the toolbar at the top of the screen and highlight "Colors" with the mouse, then click "Invert." All colors in the photo will be inverted, creating a color negative effect.
Black and White Negative
Step 1
Open GIMP by clicking its icon on the desktop or in the "Programs" section of the Start menu.
Step 2
Open your image in GIMP by clicking "File" then "Open" and double-clicking the image file.
Step 3
Click "Image" in the toolbar at the top of the screen and highlight "Mode" with the mouse pointer, then click "Grayscale." This will convert the image to grayscale or black and white.
Step 4
Click "Image" in the toolbar at the top of the screen and highlight "Colors" with the mouse, then click "Invert." Since there are no colors in the image, it will be converted to a black and white negative.