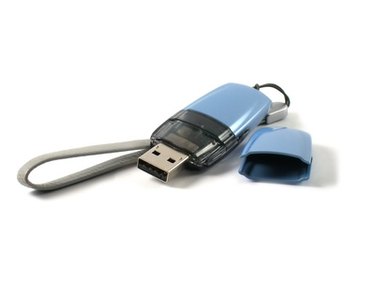
A USB flash drive is used for portable media, and can be removed from the computer once the files are copied. You can then take the media to another computer. Making a USB flash drive non-removable allows you -- for example -- to install an operating system on the drive. Using a non-removable flash drive allows you to run an operating system on a computer from the flash drive without having to install it.
Step 1
Connect your USB flash drive to a USB port on your computer. Move the contents on your USB flash drive to a safe location because this process will remove all files on the drive. You can transfer the files to a folder on your hard drive or to other media, such as a CD or DVD.
Video of the Day
Step 2
Click "Start," type "cmd" in the search box and press "Enter." A blank command prompt window will open.
Step 3
Type "diskpart" and press "Enter." Type "list disk" and press "Enter." Write the disk number listed, for example Disk 1, of the USB flash drive.
Step 4
Select "Disk 1," "Clean," "Create Partition Primary," "Select Partition 1," "Active, Format FS=NTFS" and "Assign." Minimize the command prompt window. The "Format FS=NTFS" command will take a few minutes to complete.
Step 5
Insert your Windows 7 DVD into your CD drive. Click "Start," "Computer" and note the drive letter for the Windows 7 DVD. For example, it may be drive "D." Also note the USB flash drive letter. For example, it may be "H."
Step 6
Maximize the minimized Command Prompt window and type "D: CD boot" and press "Enter." (D is your DVD drive letter that you found in the previous step. Your letter may be different than "D.")
Step 7
Type "CD boot" and press "Enter." Type "bootsect.exe /NT60 H:" -- H is the letter of your USB drive that you wrote down in step three. Note that there is a ":" after the drive letter. You will see a "Bootcode was successfully updated" message on the screen.
Video of the Day