Plastic film offers a unique medium for crafts and projects because it is usually clear or translucent, allowing light to filter through the colors for a stained glass effect. Specialty inkjet sheets have a coated side for ink to set. Smooth plastic sheets not coated for inkjet printers require time for the surface ink to dry, like paint. Users can transfer still-wet designs on the uncoated plastic film to other absorbent surfaces, such as paper crafts. Inkjet printer utilities provide options to control the quality of the printout, such as thick paper setting, slower printing speed and fine resolution.
Step 1
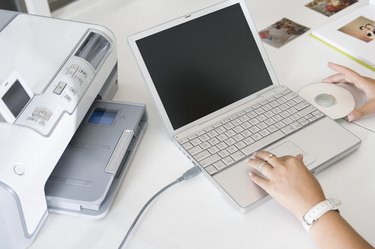
Make sure the printer's utilities and drivers are installed on the computer.
Video of the Day
Step 2
Open the desired image or file.
Step 3
Consider how the plastic will be applied to the desired surface or how the image will be used. For example, plastic cling film for windows will not have the printed image touching the glass surface (to avoid ink transfer and smudging); plastic film used on a light box will have the printed image on the inside so that the surface appears smooth (requiring a reversed image).
Step 4
Flip the image so that it is reversed, if necessary, based on step 3.
Step 5
Insert a plastic sheet into the manual feed paper slot or insert one plastic sheet into the printer paper tray. If you are using film sheets for inkjet printers, make sure to insert the sheet so that the rough or sticky side faces the side for printing and the lined edge faces the inside of the printer (paper feed). For example, the HP Premium Transparency Film is coated on one side and has a stiff, white border on one short edge to facilitate paper feed through the rollers.
Important note: if the plastic film is very thin (like plastic wrap), place the film on a sheet of paper and affix the film with tape (covering all sides and edges).
Step 6
Select the Print function in the application (usually located in the top menu bar or toolbar).
Step 7
Select the target printer and the following printing options in the Print menu: Paper type: Transparency Output tray: manual paper feed or tray 1 Quality: Normal or Best (select "Best" for photos) Borderless printing: Off
Step 8
Click the "Print" button.
Step 9
Carefully hold the printed film by the edges to avoid smudging the image. Place on a flat surface to dry thoroughly (usually overnight, especially if the film isn't coated on one side for inkjet use).
Video of the Day