When you shoot a photo in RAW mode using most Canon digital cameras, it produces a CR2 file. CR2 files can be converted to JPG format using Preview and without the need to install any additional software.
Understanding RAW Files
While they can be viewed on your Mac computer, RAW files can't really be called image files. Instead of containing an image, the way a JPG or PNG does, RAW files contain the raw data generated by the camera's sensor, unfiltered and uncompressed.
Video of the Day
Video of the Day
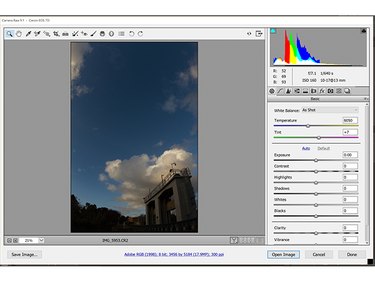
Using tools like Photoshop, professional photographers and graphic designers can get a lot more visual information from a RAW file than any image file. Dark lighting or blown-out whites, for example, can often be corrected using a RAW file.
Converting CR2 to JPG
Step 1: Open the File
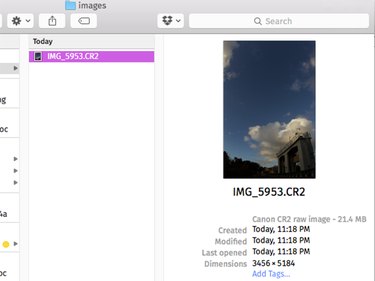
Locate the CR2 file in Finder and double-click it. The file is opened in Preview.
Step 2: Enable Editing if Desired
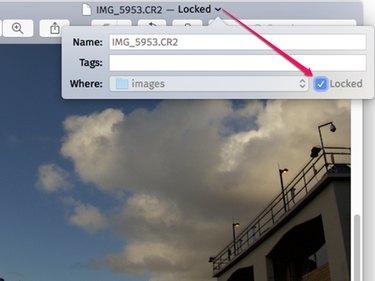
Click the locked Arrow beside the file name at the top of the Preview window. Click the locked check mark to enable editing. Preview creates a copy of the RAW file as a TIFF image file.
Step 3: Edit the Image as Desired
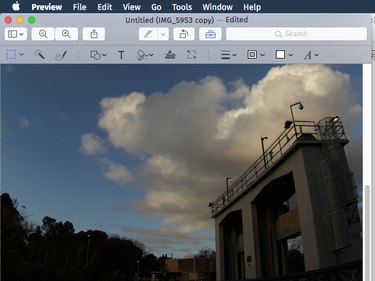
Edit the file as you would any other image file, including cropping, resizing, or adding text to the image.
Step 4: Export the File as a JPG
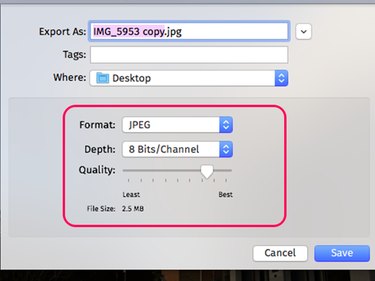
Click the File menu and select Export As. In the Export window, select JPEG from the Format menu. You can increase or decrease the Quality and Depth as desired, or leave them at their default values. Higher depths and higher quality also result in a larger file size, which is displayed at the bottom of the window. Click Save.