Long before digital video -- and even before videocassette tapes -- when families wanted to watch their home movies, they were likely watching them on an 8mm film projector. Long since out of production, many of these projectors are still in existence. For individuals who still want to use these projectors, you will need to have a basic understanding of how the projector operates.
Step 1
Plug the projector in to a wall power outlet, and turn the projector on. If the bulb does not light, turn the projector off and unplug it.
Video of the Day
Step 2
Locate and open the bulb compartment just behind the projectors lens. Using a tissue or paper towel, remove the old bulb and replace it with a new blub.
Step 3
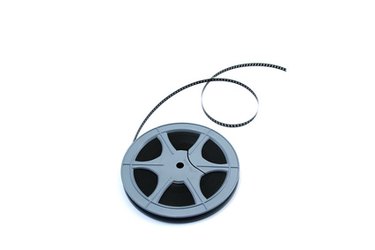
Place a take-up reel on the rear reel arm. Place the film reel on the front arm and feed the film into projector. These projectors have an auto-feed system that will guide the film through the projector and feed the film onto the take-up reel.
Step 4
Turn the projector on, and the film should start to collect onto the rear reel. If the take- up reel does not turn, remove the empty reel and the reel arm cover. Inside the cover, there will be a small belt that drives the rear reel. Make sure the belt is on the pulley and that the belt is not broken. Replace or reattach the belt, replace the arm cover and the take-up reel.
Step 5
Feed the film on to the take-up reel, and you will be ready to watch your 8mm movie.
Video of the Day