
If you are still hanging onto your old audio cassettes or mix-tapes, it is important to keep them in good shape. One of the keys to increasing the life of an old audio cassette tape is keeping it clean. Fungus growth and dust can keep an audio cassette from playing and can even ruin your tape deck. In order to keep the inside of your audio cassettes clean, it may be necessary to open the casing. This is a gentle process that must be done correctly in order to keep the tape from being damaged.
Step 1
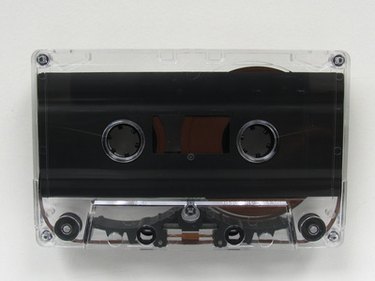
Locate the small screws on both the left and right sides of the bottom of the cassette tape.
Video of the Day
Step 2
Insert an eyeglass repair kit screwdriver into one screw head (left or right) and gently turn it counterclockwise. Do this until the screw is removed.
Step 3
Repeat Step 2 for the screw on the opposite side of the bottom of the cassette tape. Place the screws in a small dish or cup for safekeeping.
Step 4
Locate the screws on both the left and right sides of the top of the cassette tape.
Step 5
Hold the tape semi-flat so that the side with the tape reels is facedown. This will keep the tape from spilling out once the casing is removed.
Step 6
Repeat Step 2 for the two screws at the top of the cassette tape. Place the screws in the small dish or cup.
Step 7
Gently pull the casing apart, keeping the side with the tape reels facedown and the cassette itself semi-flat. This will expose the tape within the cassette, making it easy to clean or repair.
Video of the Day