Typically a VCR runs without many issues, allowing you to watch or record programming with the inserted tape. However, you may find the VCR automatically ejects the video tape before every loading it. This is almost always an issue with the actual VHS tape itself and is a problem you can usually correct yourself without taking the device into a repair shop.
Step 1
Press the "EJECT" button on the VCR. If there is a tape already inserted into the VCR it is not going to allow you to insert the new video tape.
Video of the Day
Step 2
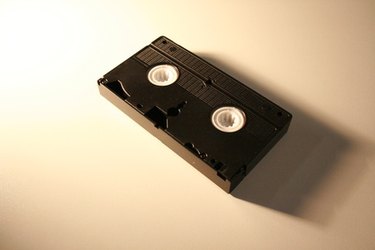
Check the top of your VHS. Make sure the plastic flap over the tape is flat. If the flap is open or missing the VCR is not going to allow you to insert the tape. Typically this issue is due to the tape bunching up underneath the flap. Press down on the small release button on the side of the VHS and lift up on the flap. Smooth out any build up of tape by spinning the circular spindles on the take clockwise until the tape straightens itself out.
Step 3
Insert a different tape into the VCR and allow it to play for a moment. Eject the tape, then insert the different tape that is having issues. Often times the VCR plays the tape after detecting information on a different VHS.
Step 4
Spray some compressed air into the VCR. This removes dust that can build up on the tape deck heads, causing it to automatically eject the tape.
Video of the Day