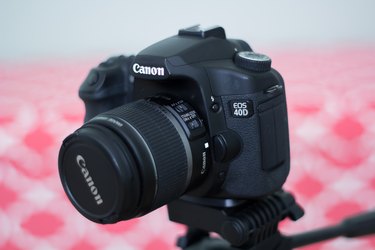
The Canon EOS 40D digital SLR camera's self-timer feature allows you to take a picture using a 10-second or two-second timer. The 10-second timer makes it possible for you to position yourself quickly into a shot. The two-second timer makes it possible for you to remove your finger from the shutter and move away from the camera to prevent camera shake caused by touching it. No matter which timer you use, setting the self-timer feature only requires that you know which button to push to access the self-timer options. The rest simply involves focusing and taking the shot.
Step 1
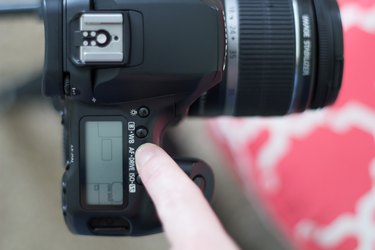
Turn on your Canon EOS 40D digital SLR camera and press the "AF/Drive" button.
Video of the Day
Step 2
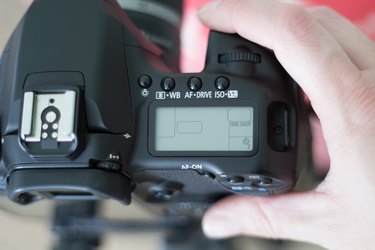
Look at the camera display and turn the "Quick Control" dial to the 10-second self-timer icon or the two-second self-timer icon.
Step 3
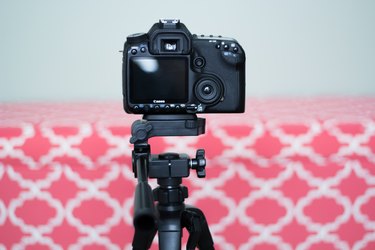
Position your camera on its tripod to face your subject. Focus on the subject and then push the "Shutter" button to start the self-timer.
Video of the Day