The Apple iPhone's design allows it to only sync with a single computer and a single iTunes library. When you connect an iPhone to a new computer or one that it does not normally sync with, you will be presented with a dialog box asking you to erase the iPhone's memory. To avoid losing the data on your iPhone, you can disable automatic syncing in iTunes and then transfer the content from your device to the new computer.
Step 1
Launch the iTunes application on your Mac or PC computer.
Video of the Day
Step 2
Go to "Preferences" in the "iTunes" menu on Macs or the "Edit" menu in Windows.
Step 3
Navigate to the "Devices" tab at the top of the pop-up window, check the box next to "Prevent iPods, iPhones, and iPads from syncing automatically" and then click "OK."
Step 4
Go to the "Store" menu at the top of the screen and choose the "Authorize This Computer" option.
Step 5
Enter your iTunes Store username and password and click "Authorize."
Step 6
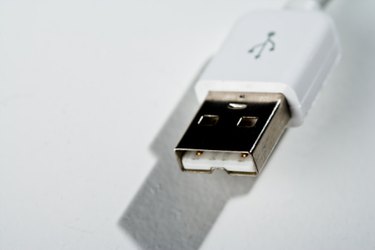
Connect your iPhone to your computer using an iPhone USB cable.
Step 7
Right-click on the name of your iPhone in the "Devices" list and select the "Transfer Purchased Content" option. This will migrate the data from your iPhone to the iTunes library on your new computer.
Step 8
Press the "Sync" button in the lower-right corner of the window to perform a fresh sync between the iPhone and the computer.
Video of the Day