New to Linux Checklist: 10-Day Setup Guide for Beginners
By the end of this guide, you'll have a stable Linux system with updates applied, a firewall running, backups configured, and a handful of safe habits that prevent the mistakes that send beginners back to Windows. That's enough. Day 10 is not graduation day; it's "this works and I'm not afraid of it" day.
Before starting: many new Linux users who give up aren't quitting Linux they're quitting the desktop environment they happened to land on. The desktop environment controls how you launch apps, switch windows, and navigate settings every day. Two machines running different distros but the same desktop environment feel nearly identical; two machines running the same distro with different desktop environments feel like completely different operating systems, as How-To Geek noted last month. That's the first gate. Once you've cleared it, the rest is a short, sequential new to Linux checklist.
Prerequisites: You've installed a mainstream Linux distribution Ubuntu, Fedora, or Linux Mint and can log in. No prior Linux experience required.
Steps 1–4 of the setup checklist apply to almost everyone. Later steps are conditional; this guide flags which ones, so you won't spend time on things that don't apply to your hardware. A written checklist beats relying on memory because fatigue and distraction override experience every time, according to Dataplexa.
Days 1–2: check that your desktop environment fits, and switch now if it doesn't
Video of the Day
You already have a desktop environment. The job here is to spend two days using it normally, decide whether it suits how you work, and swap now if it doesn't before you've built habits on top of something wrong.
Step 1 Use the desktop as-is for one full day before changing anything. Don't customize, don't install extra software, don't tweak settings. Open apps, switch between them, find the settings panel, and notice whether the friction feels like unfamiliarity or actual mismatch. Those are different things.
Step 2 Identify which desktop environment you're running. Open Settings or right-click the desktop. GNOME and KDE Plasma are the two most widely used options, and nearly every mainstream distro ships one of them by default, per How-To Geek. Both have broad documentation and active beginner communities.
- GNOME is built around minimalism. There are no minimize or maximize buttons by default, just close. The main navigation tool is Activities Overview (press the Windows key), which shows open apps and virtual workspaces. It's a different workflow from Windows, not a broken one.
- KDE Plasma ships with a taskbar-style panel, a Start-menu-style launcher, and deep customization options. It's the more natural landing spot for Windows switchers, and its panel can be repositioned to approximate a macOS layout. The tradeoff: the Settings app has so many options that opening it on day one can feel like opening a fuse box, per How-To Geek. Stick with the defaults for now.
Step 3 Apply the decision rule by end of day two.
- Coming from Windows: try KDE Plasma if you're not already on it
- Want something clean and opinionated: GNOME
- If the workflow feels actively confusing after two days of real use, reinstall with the appropriate flavor: Kubuntu for KDE Plasma, standard Ubuntu or Fedora Workstation for GNOME, Linux Mint Cinnamon for a middle ground
A lot of Linux newcomers quit because they think they don't like Linux, when they actually just didn't like the desktop environment they started with, per How-To Geek. Switching flavors at this stage is a normal early adjustment, not a sign anything went wrong.
Gotcha: Don't spend day one in the customization menus. Customization is week four's problem. You're evaluating fit, not decorating.
Video of the Day
Days 3–5: the universal new to Linux checklist for every fresh install
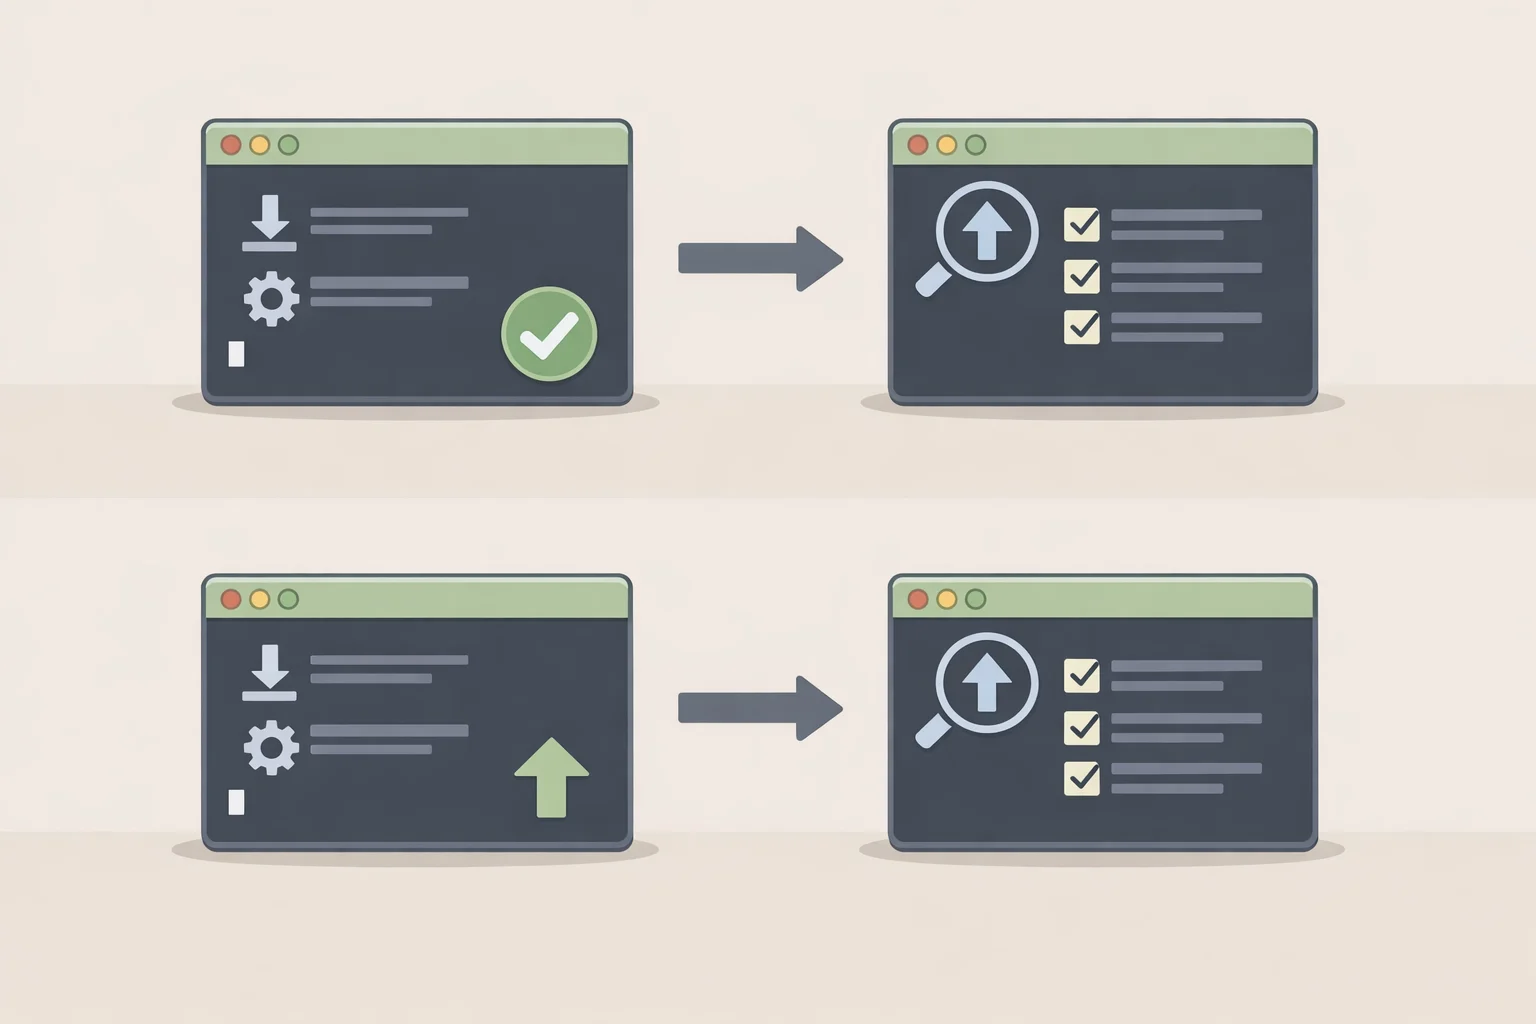
Most of these steps take under five minutes each, per Linux Junkies. Steps 1–4 apply to essentially every new Linux install. Steps 5 and 6 are conditional skip them if they don't apply to your hardware or setup.
Step 1 Apply all pending updates, then reboot.
The installer image is always older than the current repositories. Sync and upgrade before doing anything else, per Linux Junkies.
- Ubuntu/Mint:
sudo apt update && sudo apt upgrade - Fedora:
sudo dnf upgrade
Reboot afterward if the kernel or firmware was updated, per Linux Junkies. On systemd systems, you can check whether one is needed with: [ -f /run/reboot-required ] && echo "Reboot required" || echo "No reboot needed".
✓ Verify: Run the update command again. It should report nothing left to upgrade.
Step 2 Confirm the firewall is active.
Ubuntu ships with ufw; Fedora uses firewalld. The right default for a desktop is: deny incoming, allow outgoing. Only open ports you explicitly need, per Linux Junkies. Even behind a home router, a local firewall limits exposure from other devices on the same network and catches misconfigured services that accidentally bind to all interfaces.
✓ Verify: sudo ufw status (Ubuntu/Mint) or sudo firewall-cmd --state (Fedora) output should show "active" or "running."
If a newly installed service stops working: Use named profiles where available (
sudo ufw allow 'Nginx Full') rather than opening broad port ranges.
Step 3 Install multimedia codecs.
Patent-encumbered formats including H.264, AAC, and MP3 are excluded from many default installs for legal reasons, per Linux Junkies.
- Ubuntu/Mint: install
ubuntu-restricted-extras - Fedora: enable RPM Fusion (free and nonfree), then install
gstreamer1-plugins-*
✓ Verify: Play a video in Firefox or VLC. If it plays without errors, you're done.
Step 4 Enable automatic security updates.
Security patches shouldn't wait for you to remember to run them. Configure automatic updates for the security pocket only leave feature updates on manual, per Linux Junkies.
- Ubuntu/Mint: enable
unattended-upgrades - Fedora: install
dnf-automatic, enablednf-automatic.timer, and confirmapply_updates = yesin/etc/dnf/automatic.conf
✓ Verify (Fedora): systemctl status dnf-automatic.timer confirm it shows active.
Step 5 Check for proprietary drivers. [Conditional: NVIDIA GPU or problem Wi-Fi adapter only]
Open-source drivers handle most hardware well, but NVIDIA GPUs and certain Wi-Fi adapters need proprietary firmware for full performance, per Linux Junkies. If everything works display looks right, Wi-Fi connects skip this step.
- Ubuntu: Settings → Additional Drivers
- Fedora: install
akmod-nvidiafrom RPM Fusion, then reboot
✓ Verify: nvidia-smi output should list driver version and GPU name.
Gotcha (NVIDIA + Wayland blank screen after login): Add
nvidia_drm.modeset=1to your kernel command line in/etc/default/grub, then regenerate the grub config (sudo update-grubon Ubuntu/Mint;sudo grub2-mkconfig -o /boot/grub2/grub.cfgon Fedora). This is a known NVIDIA/Wayland issue, not a sign the install failed, per Linux Junkies.
Step 6 Check the system clock. [Conditional: dual-booting with Windows only]
Linux stores the hardware clock in UTC and applies a local time offset; Windows defaults to storing local time directly. Switching between the two can cause the clock to drift by hours. This matters because protocols including HTTPS and two-factor authentication require the system clock to be within about two minutes of a server's time, per Fedora Discussion.
✓ Verify (everyone): timedatectl status confirm the timezone is correct and "NTP service: active" appears. If the timezone is wrong: sudo timedatectl set-timezone [your/timezone].
If the clock drifts on dual-boot: Run this in Windows to switch it to UTC mode:
reg add "HKEY_LOCAL_MACHINE\System\CurrentControlSet\Control\TimeZoneInformation" /v RealTimeIsUniversal /t REG_DWORD /d 1(Fedora Discussion). If your setup still drifts after this, check your distro's dual-boot documentation behavior can vary depending on how the installer detected your Windows partition.
Day 6: set up backups before you need them
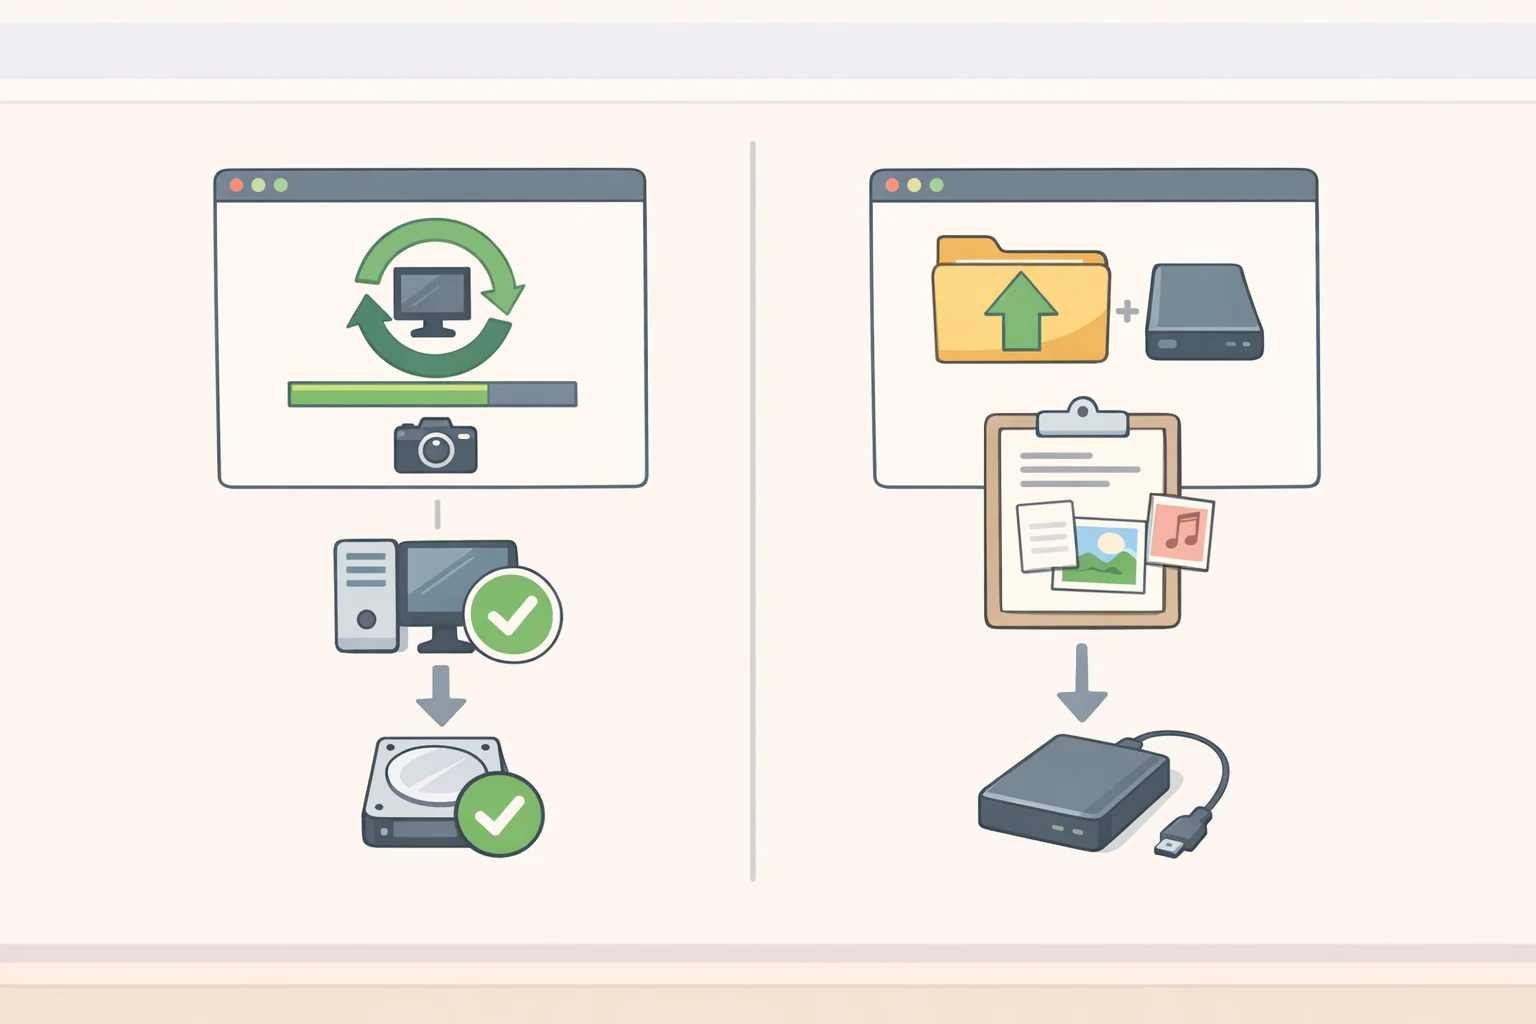
Get a recovery point in place before you start installing software and changing things. Backups belong here, not at the end, because everything after this step is easier to undo if something goes sideways.
Use two tools for two different jobs, per Linux Junkies:
- Timeshift handles system snapshots it captures the OS and system configuration so you can roll back a bad update or a broken package install. Think of it as an undo button for the whole system.
- Déjà Dup (called "Backups" in GNOME) handles your personal files in
/homeand can back them up to an external drive or cloud storage. Timeshift intentionally ignores your home directory; Déjà Dup covers what Timeshift doesn't.
Step 1 Install and open Timeshift. Take your first snapshot now, before installing anything else.
Launch timeshift-gtk or open it from your app launcher. Choose btrfs snapshots if your filesystem supports it; otherwise choose rsync. Set a schedule daily snapshots are sensible. Take a manual snapshot immediately.
✓ Verify: Timeshift shows a snapshot with today's date.
Step 2 Set up Déjà Dup and run one manual backup.
Install via your Software Center or sudo apt install deja-dup (Ubuntu/Mint). Connect an external drive or a cloud destination. Run one manual backup and confirm it completes without error.
✓ Verify: Déjà Dup shows a recent successful backup with a timestamp.
When something goes wrong later: Open Timeshift, select the snapshot from before the problem, click Restore. That is exactly what the snapshot is for use it without guilt.
Days 7–8: install your essential apps

Find the Linux equivalents of what you need, and know where to get software safely.
Software sources start here, work down:
- Your distro's repositories safest, most integrated, maintained by your distro. Always check here first.
- Flatpak via Flathub widest cross-distro catalog, sandboxed. Enable Flathub if it isn't already active, then install via your Software Center or
flatpak install flathub [app-name], per Linux Junkies. - Snap Ubuntu-centric and available, though less universal than Flathub.
- AppImage portable, no install needed; worth trying before committing.
Repo packages integrate best with your system and get managed alongside everything else through your package manager that's the default for a reason. Flatpaks make sense when a repo package is absent or years out of date; they're sandboxed and easy to remove. Snaps and AppImages serve specific cases rather than general use. Each format is a tool: use whichever one gets you the right version with the least friction.
A short starting list a place to begin, not a complete directory:
| Need | App | Where to get it |
|---|---|---|
| Office suite | LibreOffice (pre-installed on most distros); OnlyOffice for better .docx compatibility | Repos or Flathub |
| Password manager | Bitwarden or KeePassXC | Flathub or repos |
| Video | VLC | Repos or Flathub |
| Browser | Firefox (usually pre-installed) | Repos |
Your distro's Software Center is the right starting point search there before hunting for downloads elsewhere.
Days 9–10: three habits that keep Linux beginners out of trouble
Three habits only the minimum that prevents the mistakes that send beginners sideways in week one.
Habit 1 Use sudo for the task, then stop.
Linux gives every user the power to destroy the system irreversibly in a single command, and everything that can go wrong gets significantly worse when run as root, per Dataplexa. Use sudo only for commands that genuinely require it, not as a default prefix. Every sudo action is logged with a timestamp and your username in /var/log/auth.log on Debian-based systems; on Fedora, check the systemd journal with journalctl instead. Either way, the audit trail is there when you need it.
Root access is like a master key that opens every door and disables all the locks. You use it for the specific job, then put it away.
Habit 2 Pause before irreversible commands.
Several common Linux commands have no undo, per Dataplexa:
rmhas no recycle bin. Runls -la [target]first to see what's there; userm -ifor interactive confirmation.>overwrites a file silently;>>appends. One wrong character can destroy a configuration file.- Before any disk operation, run
lsblkto confirm you're targeting the right device.
The safe change sequence for anything that modifies the system: understand the goal, back up the file first, make one change, validate, reload and confirm. If something breaks, roll back immediately, then investigate, per Dataplexa.
Habit 3 Read before you run, and keep notes.
The pattern curl https://example.com/install.sh | sudo bash downloads and executes a script as root in one step, with no opportunity to review what it does, per Dataplexa. Download the script first, read it, then run it. Read every stage of a pipeline before executing malicious commands are routinely embedded in the middle of apparently useful chains.
Keep a plain-text file documenting every command that changes the system. The learn-by-breaking cycle works well, but the people who can go from a wiped disk to a working setup in under an hour are the ones with good notes, per Fedora Discussion. Start that file now.
Three shell habits worth picking up immediately: use Tab completion to avoid typos in paths; use Ctrl+R to search command history; use pwd to confirm your location before any delete or move command, per Dataplexa.
End of day 10: what "done" looks like
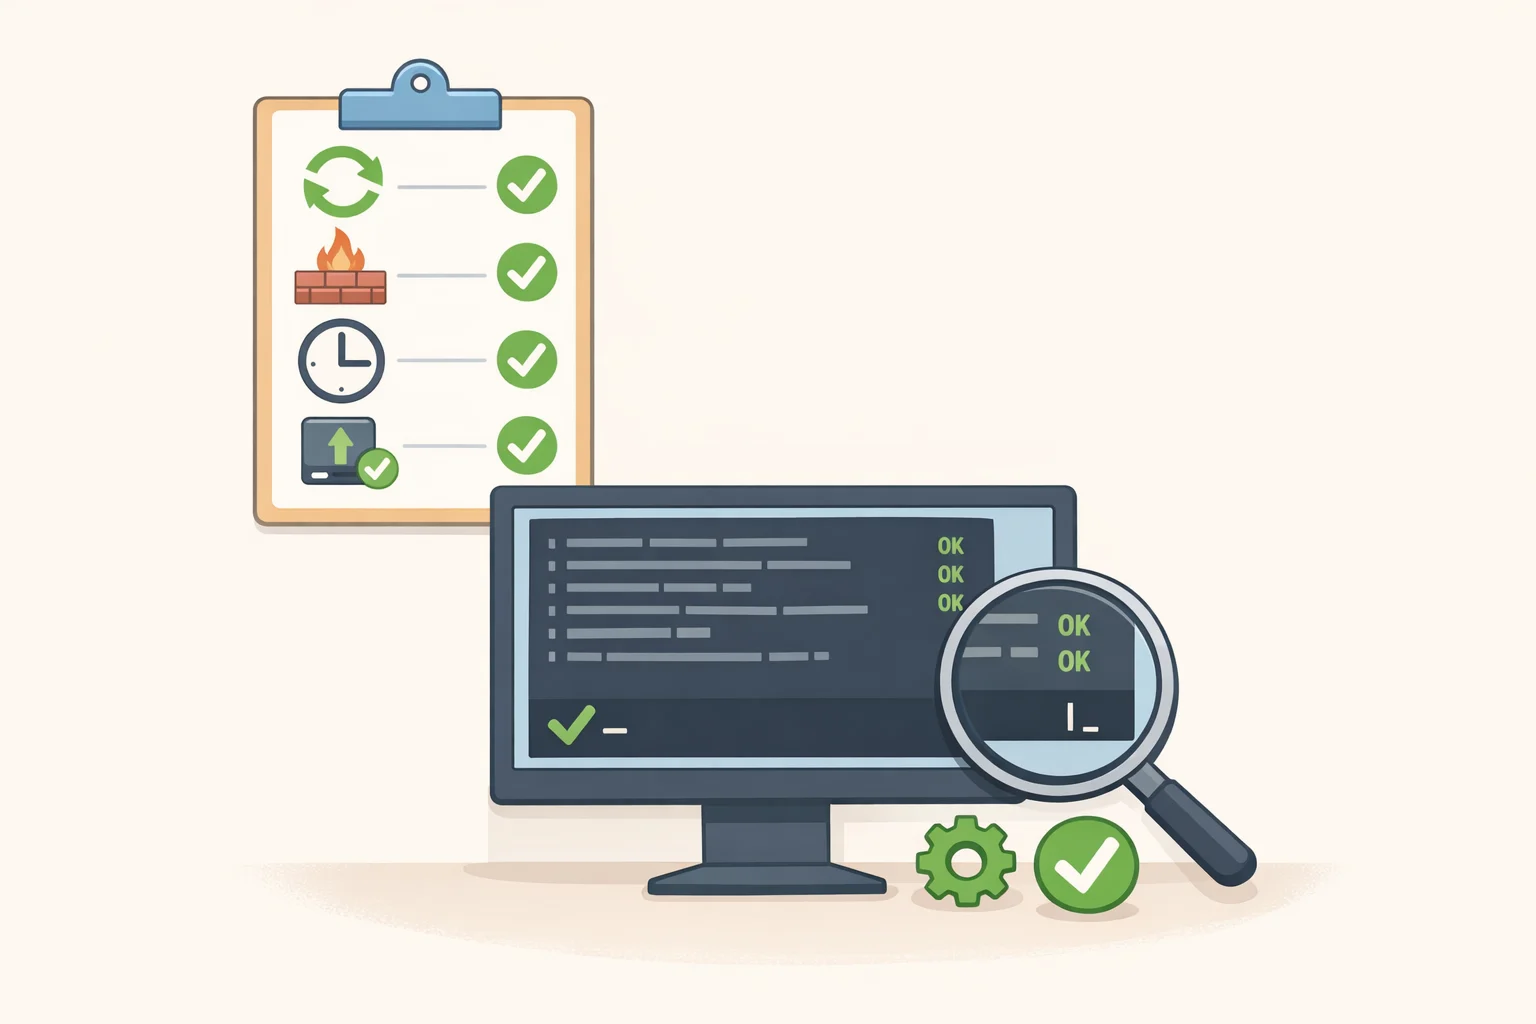
Run these checks after a fresh reboot. If they all pass, you have a stable, secure, working Linux system:
sudo apt list --upgradable(Ubuntu/Mint) ordnf check-update(Fedora) returns nothingsudo ufw statusorsudo firewall-cmd --stateshows active/runningtimedatectl statusshows the correct timezone and "NTP service: active"- A test video plays in VLC or Firefox without errors
- Timeshift shows at least one snapshot; Déjà Dup has completed at least one backup
- (NVIDIA only)
nvidia-smilists your GPU and driver version
That's the baseline. A working desktop, current updates, firewall active, codecs playing, backups in place. The goal was never to optimize Linux in a fortnight; it was to land somewhere stable and stop being afraid of it.
Where to go from here: learn your package manager. Understanding how your distro handles updates, dependencies, and removals pays dividends fast it also demystifies most of the advice you'll find in forums. Pick up grep, find, and man next. For hardware edge cases printers, Bluetooth, HiDPI displays, sleep and hibernate, audio interfaces reach for your distro's official documentation before random blog posts. The Fedora and Ubuntu communities are well-indexed and beginner-friendly, and between them cover most of what you're likely to hit. Day 10 isn't the end of anything; it's just the point where the system stops feeling unfamiliar.