Many people keep years of family photographs on their computer. It's important to know how to move those photographs when needed. Transferring photographs to a flash drive is the perfect way to back them up, as well as a great way to share those photos with others. Once the photos are transferred to a flash drive, you can also plug that drive into a photo kiosk at your favorite store to print hard copies.
Step 1
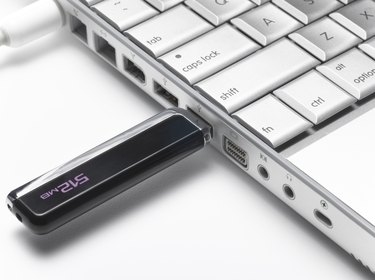
Log on to your computer and plug the flash drive into a free USB port. Right-click on "My Computer" and choose "Explore" from the menu to open Windows Explorer.
Video of the Day
Step 2
Find the folder that contains the photographs you want to save to the flash drive. Your photos may be stored in the "My Pictures" or "My Documents" folder. If you do not know where the photos are located, click on the "Start" button and choose "Search" from the menu. Choose the option to search for images and allow the operating system to find your photographs.
Step 3
Highlight the photographs you wish to transfer, then right-click and choose "Copy" from the menu. Highlight the drive letter that corresponds to the flash drive, right-click and choose "Paste" from the menu. Wait a few minutes for the files to be transferred. Your photographs are now available on your flash drive.
Video of the Day