Flash drives are used to transport data easily from one computer to another. However, the memory on a flash drive is essentially the same as the memory on an MP3 player. Even though there is no headphone jack on a standard flash drive, nor is there a makeshift operating system, configure your flash drive to function in a similar fashion as your MP3 player.
Step 1
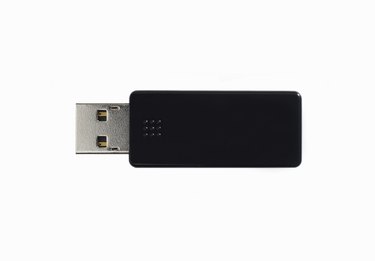
Connect the USB flash drive to one of the USB ports on the computer.
Video of the Day
Step 2
Click "Start" followed by "My Computer" (or "Computer"). Double-click the removable disk icon.
Step 3
Select and remove any files on the USB flash drive that are not music tracks. If you want to back up the files first you can copy them over to the computer hard drive (click and drag the files to any location on the computer).
Step 4
Import audio MP3 files into your USB flash drive. If you use a media player (such as iTunes or Windows Media Player) to store all your music, open the player and click and drag songs into the USB flash drive's window.
Step 5
Close the flash drive's window once the device is full, then right-click the flash drive's window and select "Eject."
Step 6
Reconnect the flash drive to the computer. In a moment the AutoPlay option appears. Select to open one of the media players on your system and check the box "Perform this action every time." Close out the window and eject the flash drive. Now, every time you plug your flash drive into a computer, it automatically plays music. This is the same for your television and any other device that reads USB flash drives.
Video of the Day